Getting Started
Follow these simple 5 steps to get started:
- 1-Visit our pricing page to explore available plans.
-
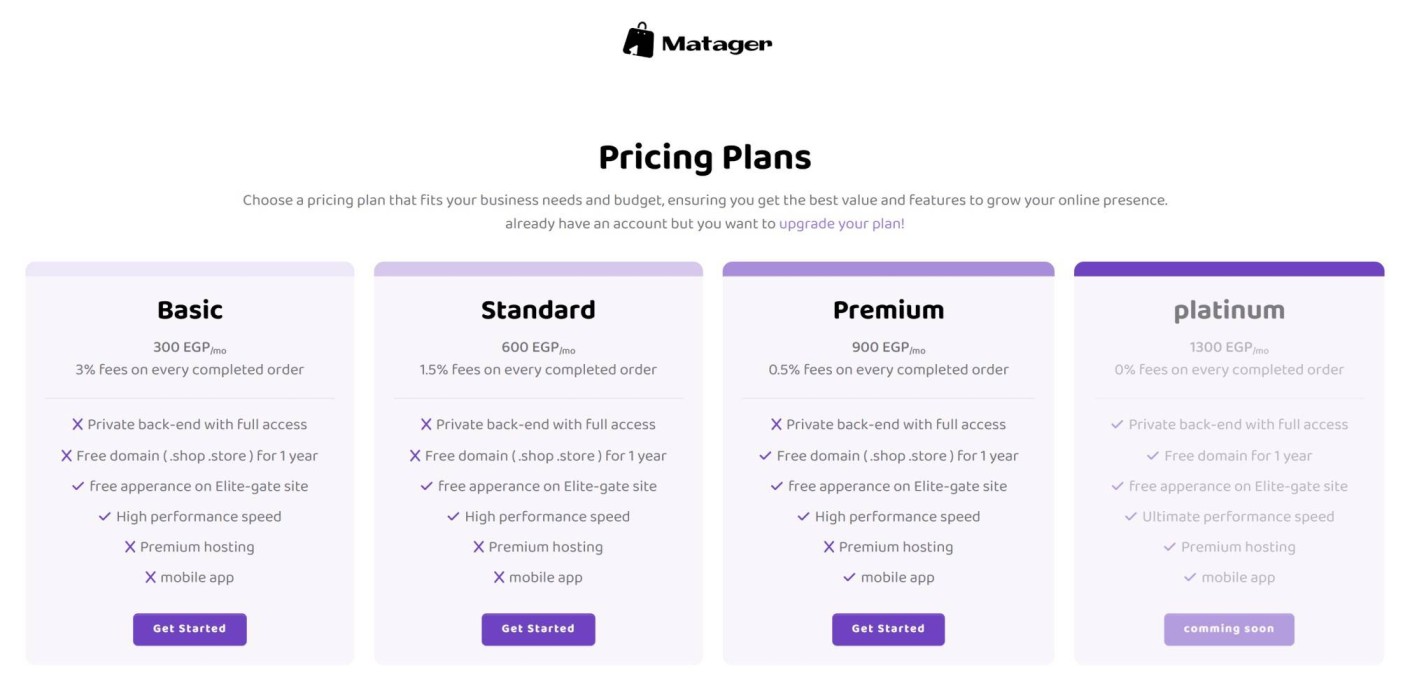
- 2-Select the plan that best suits your needs.
- 3-Click on the Get Started button.
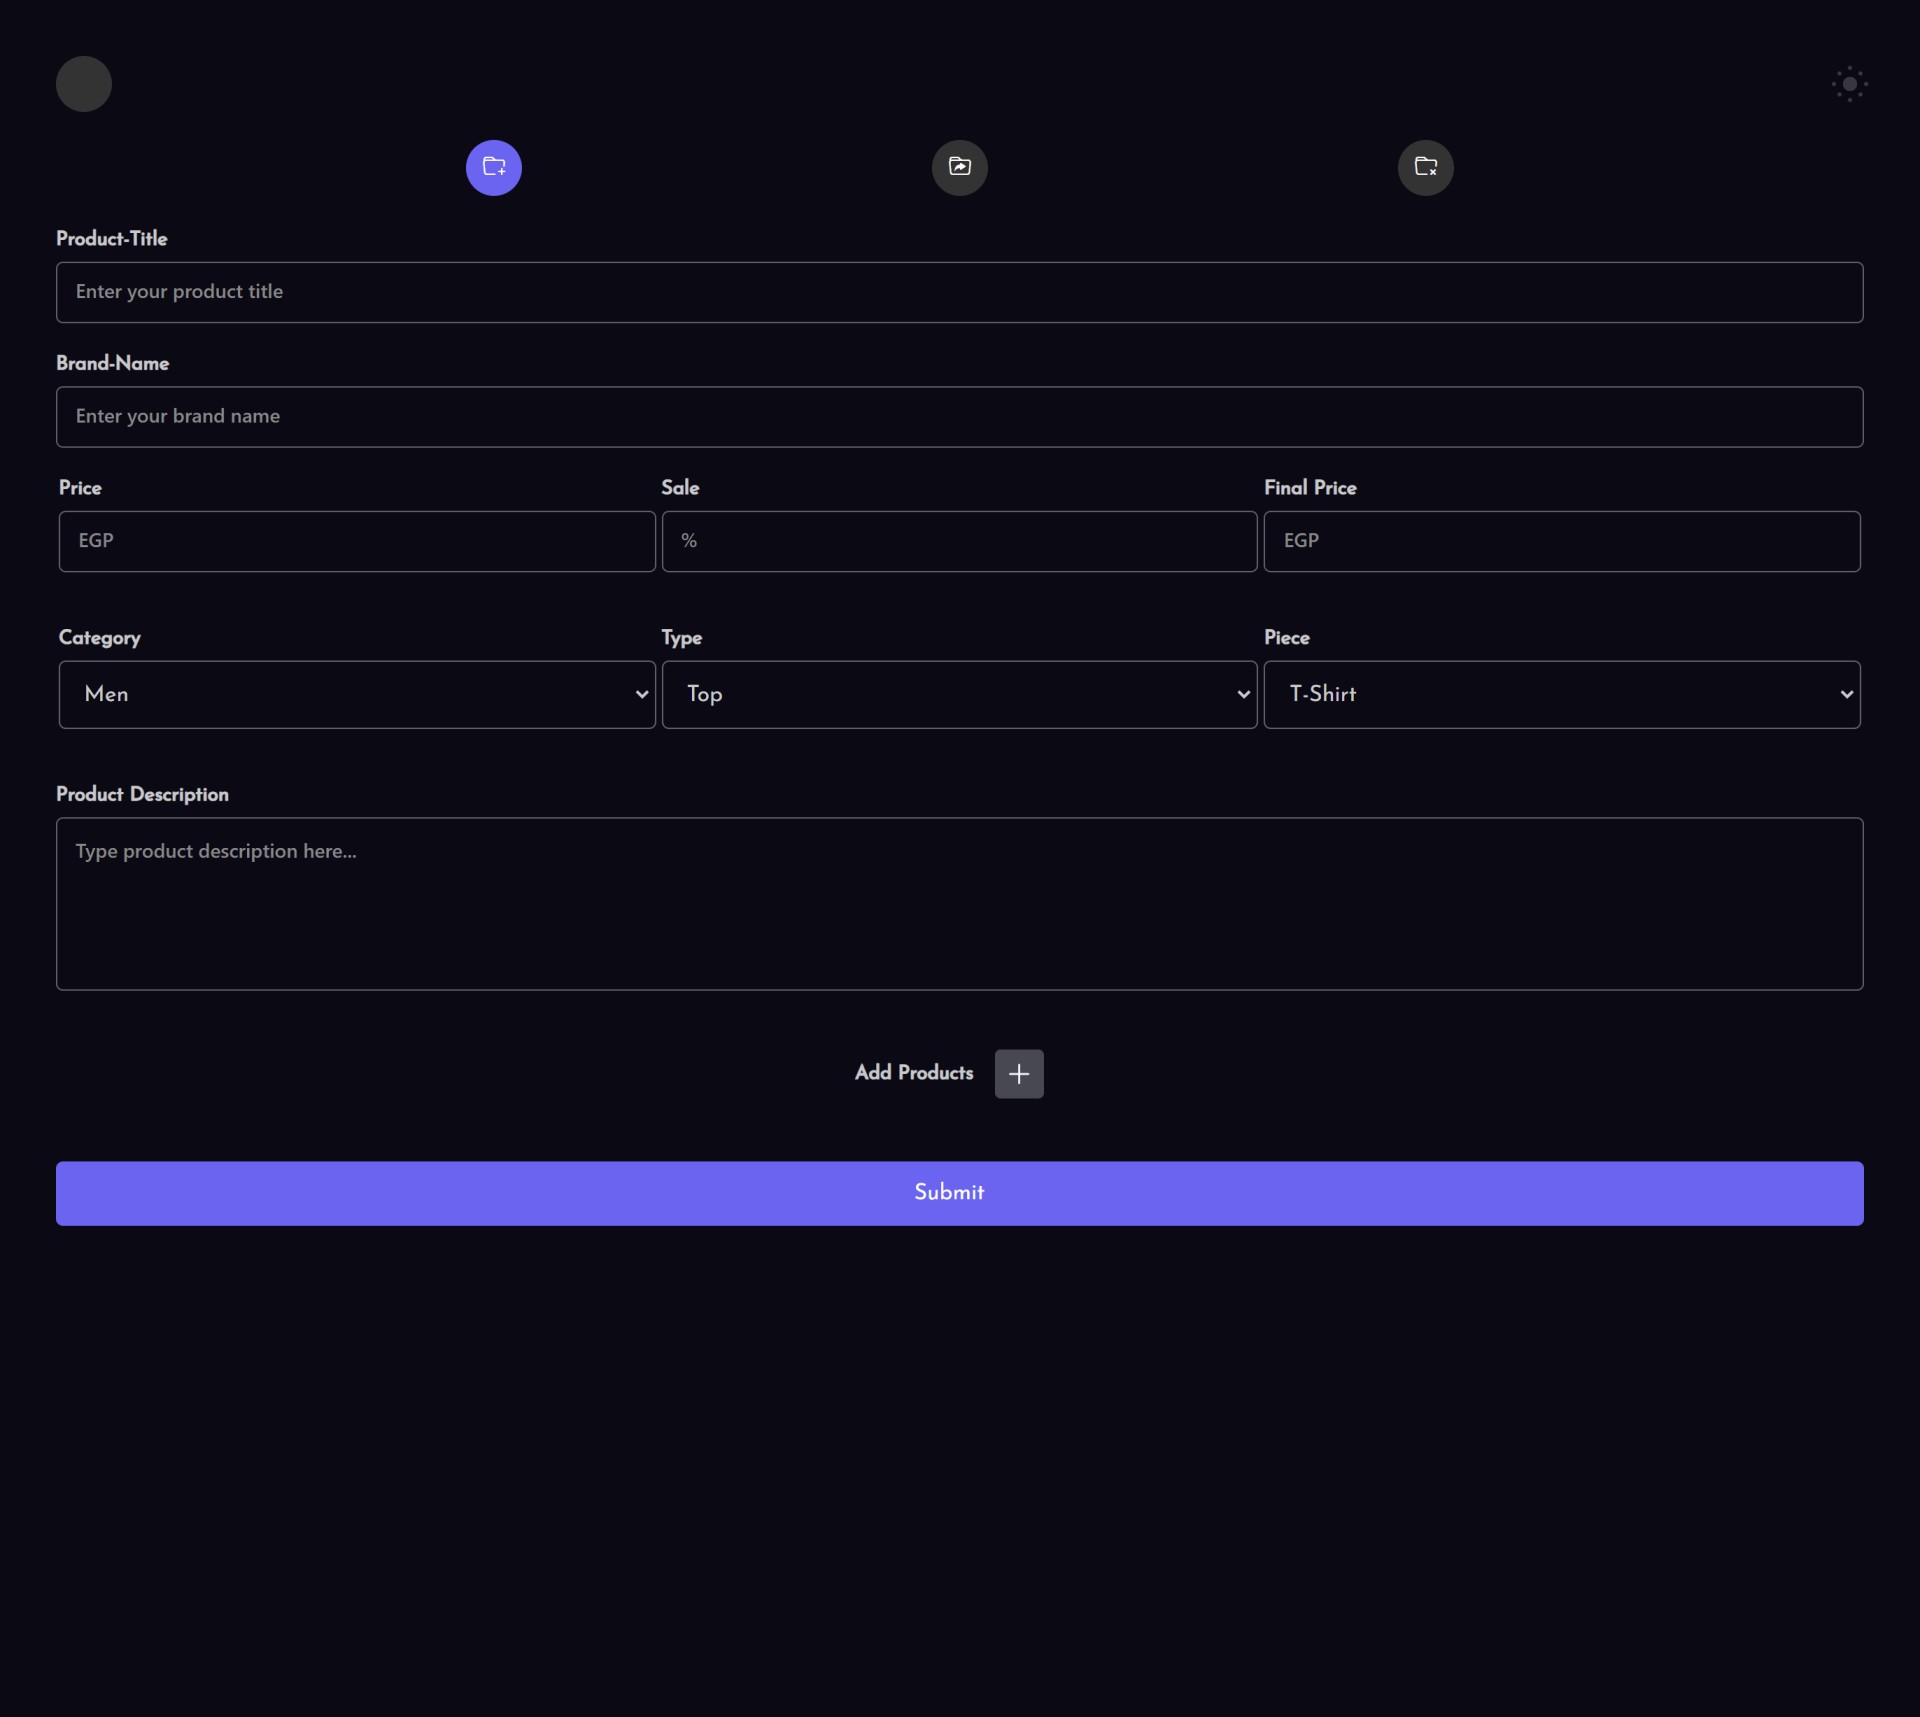
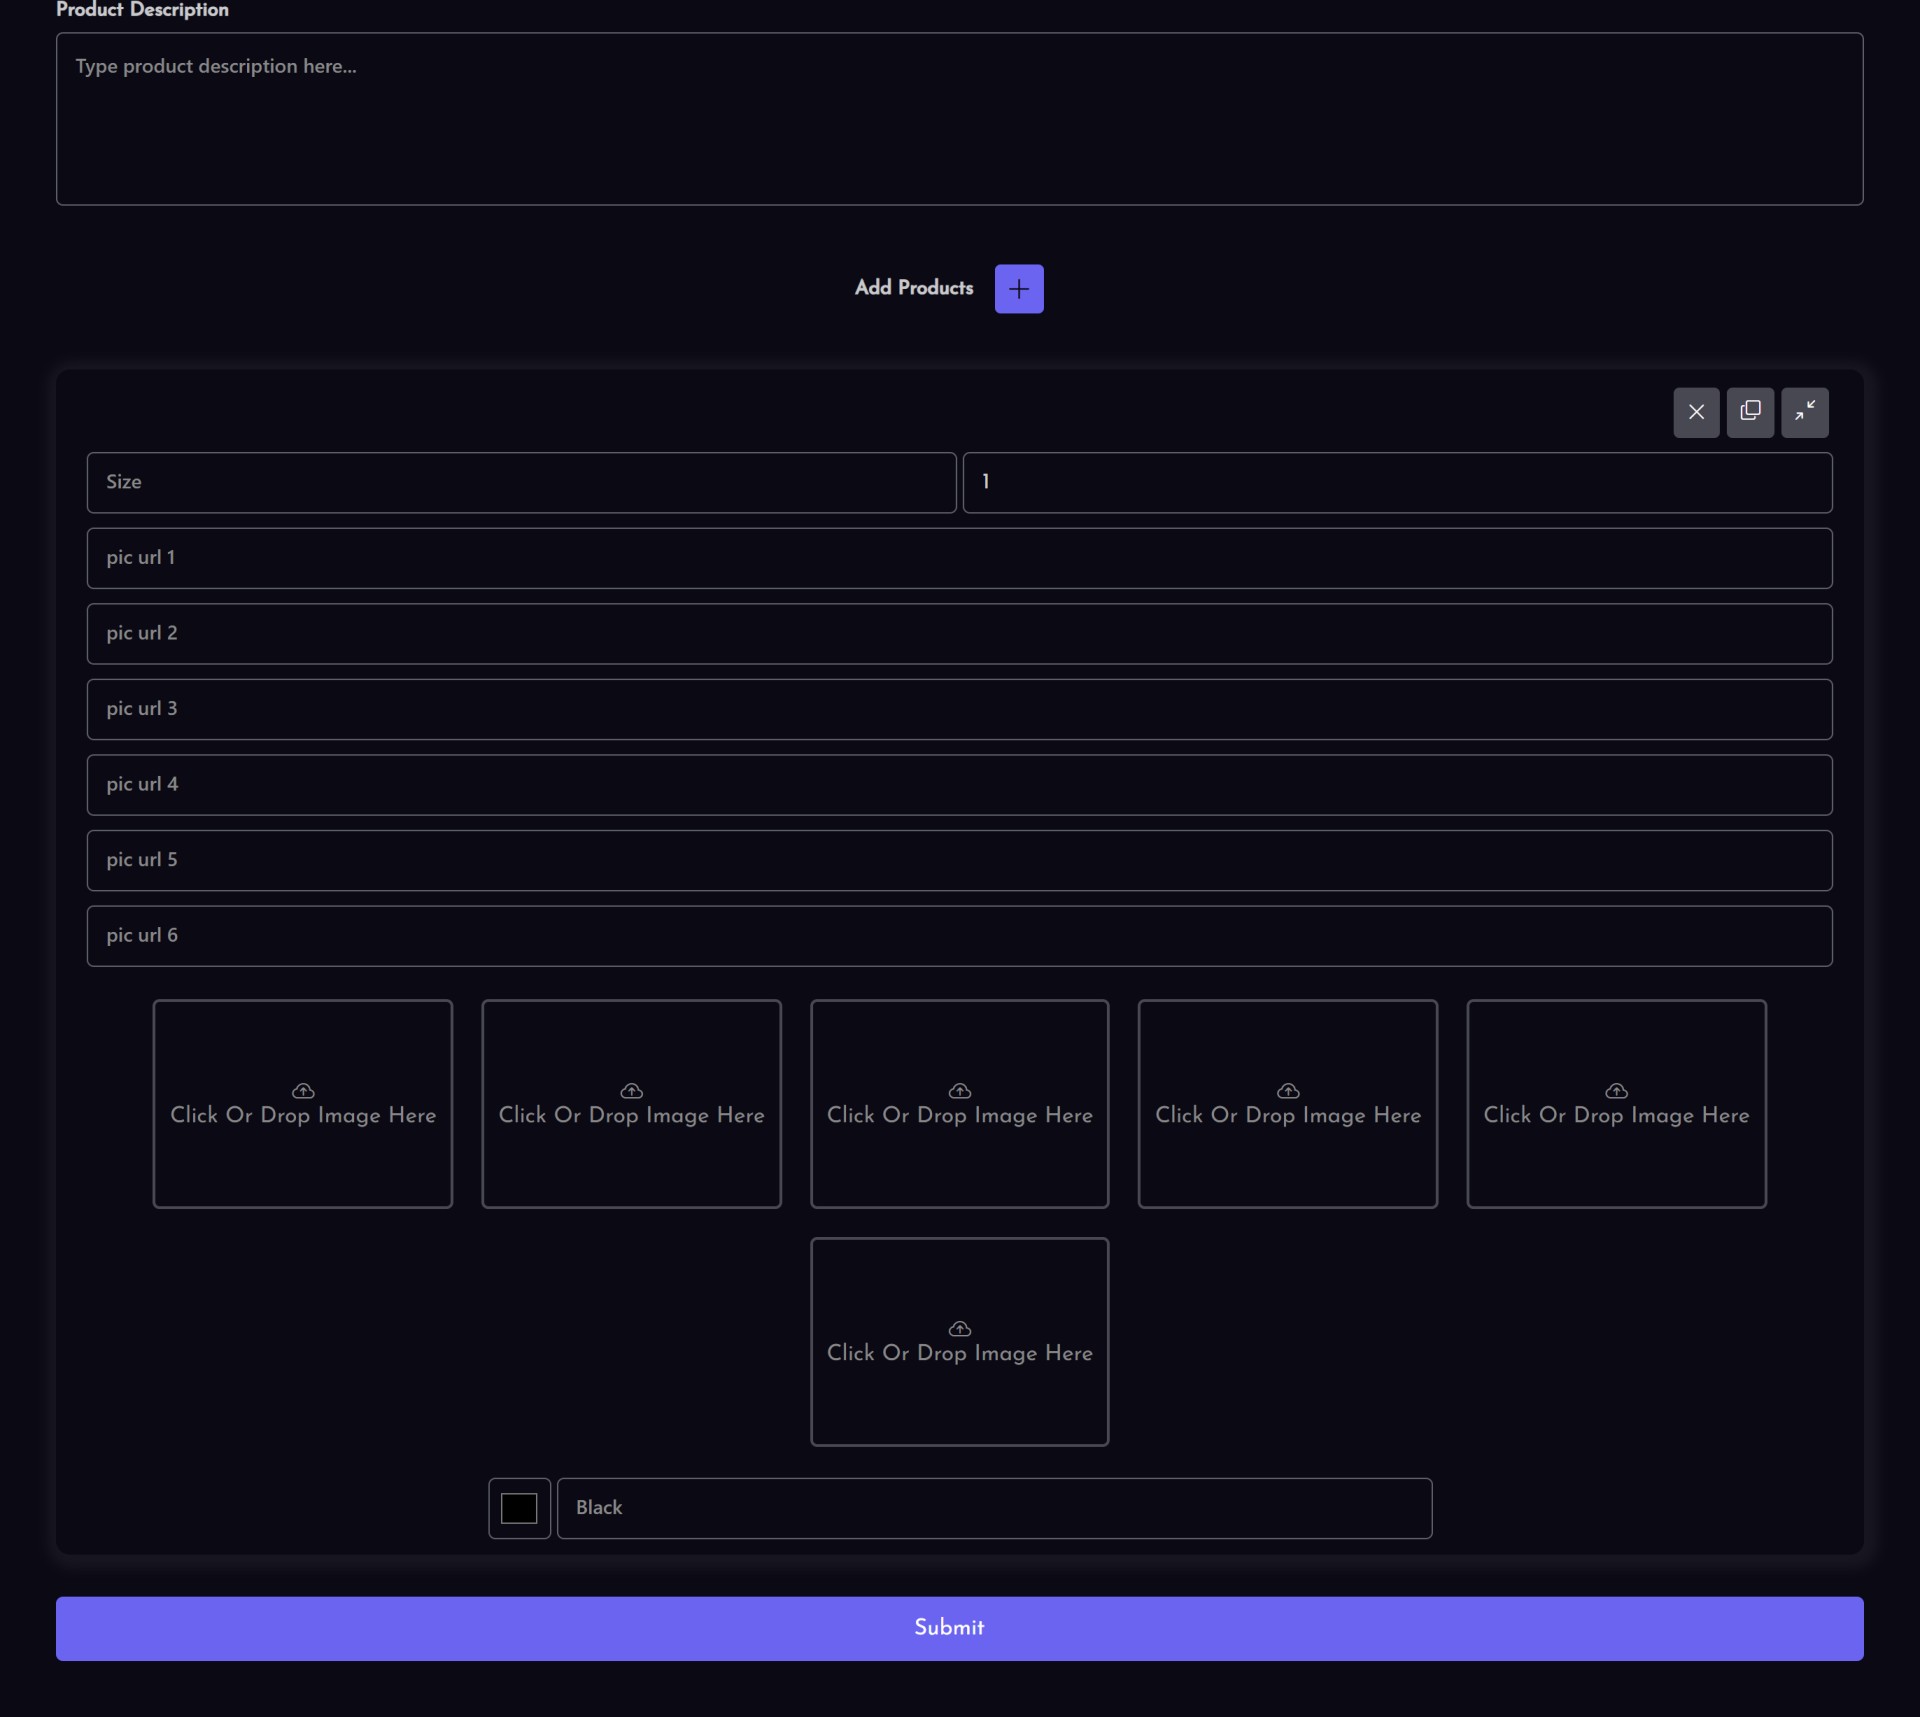
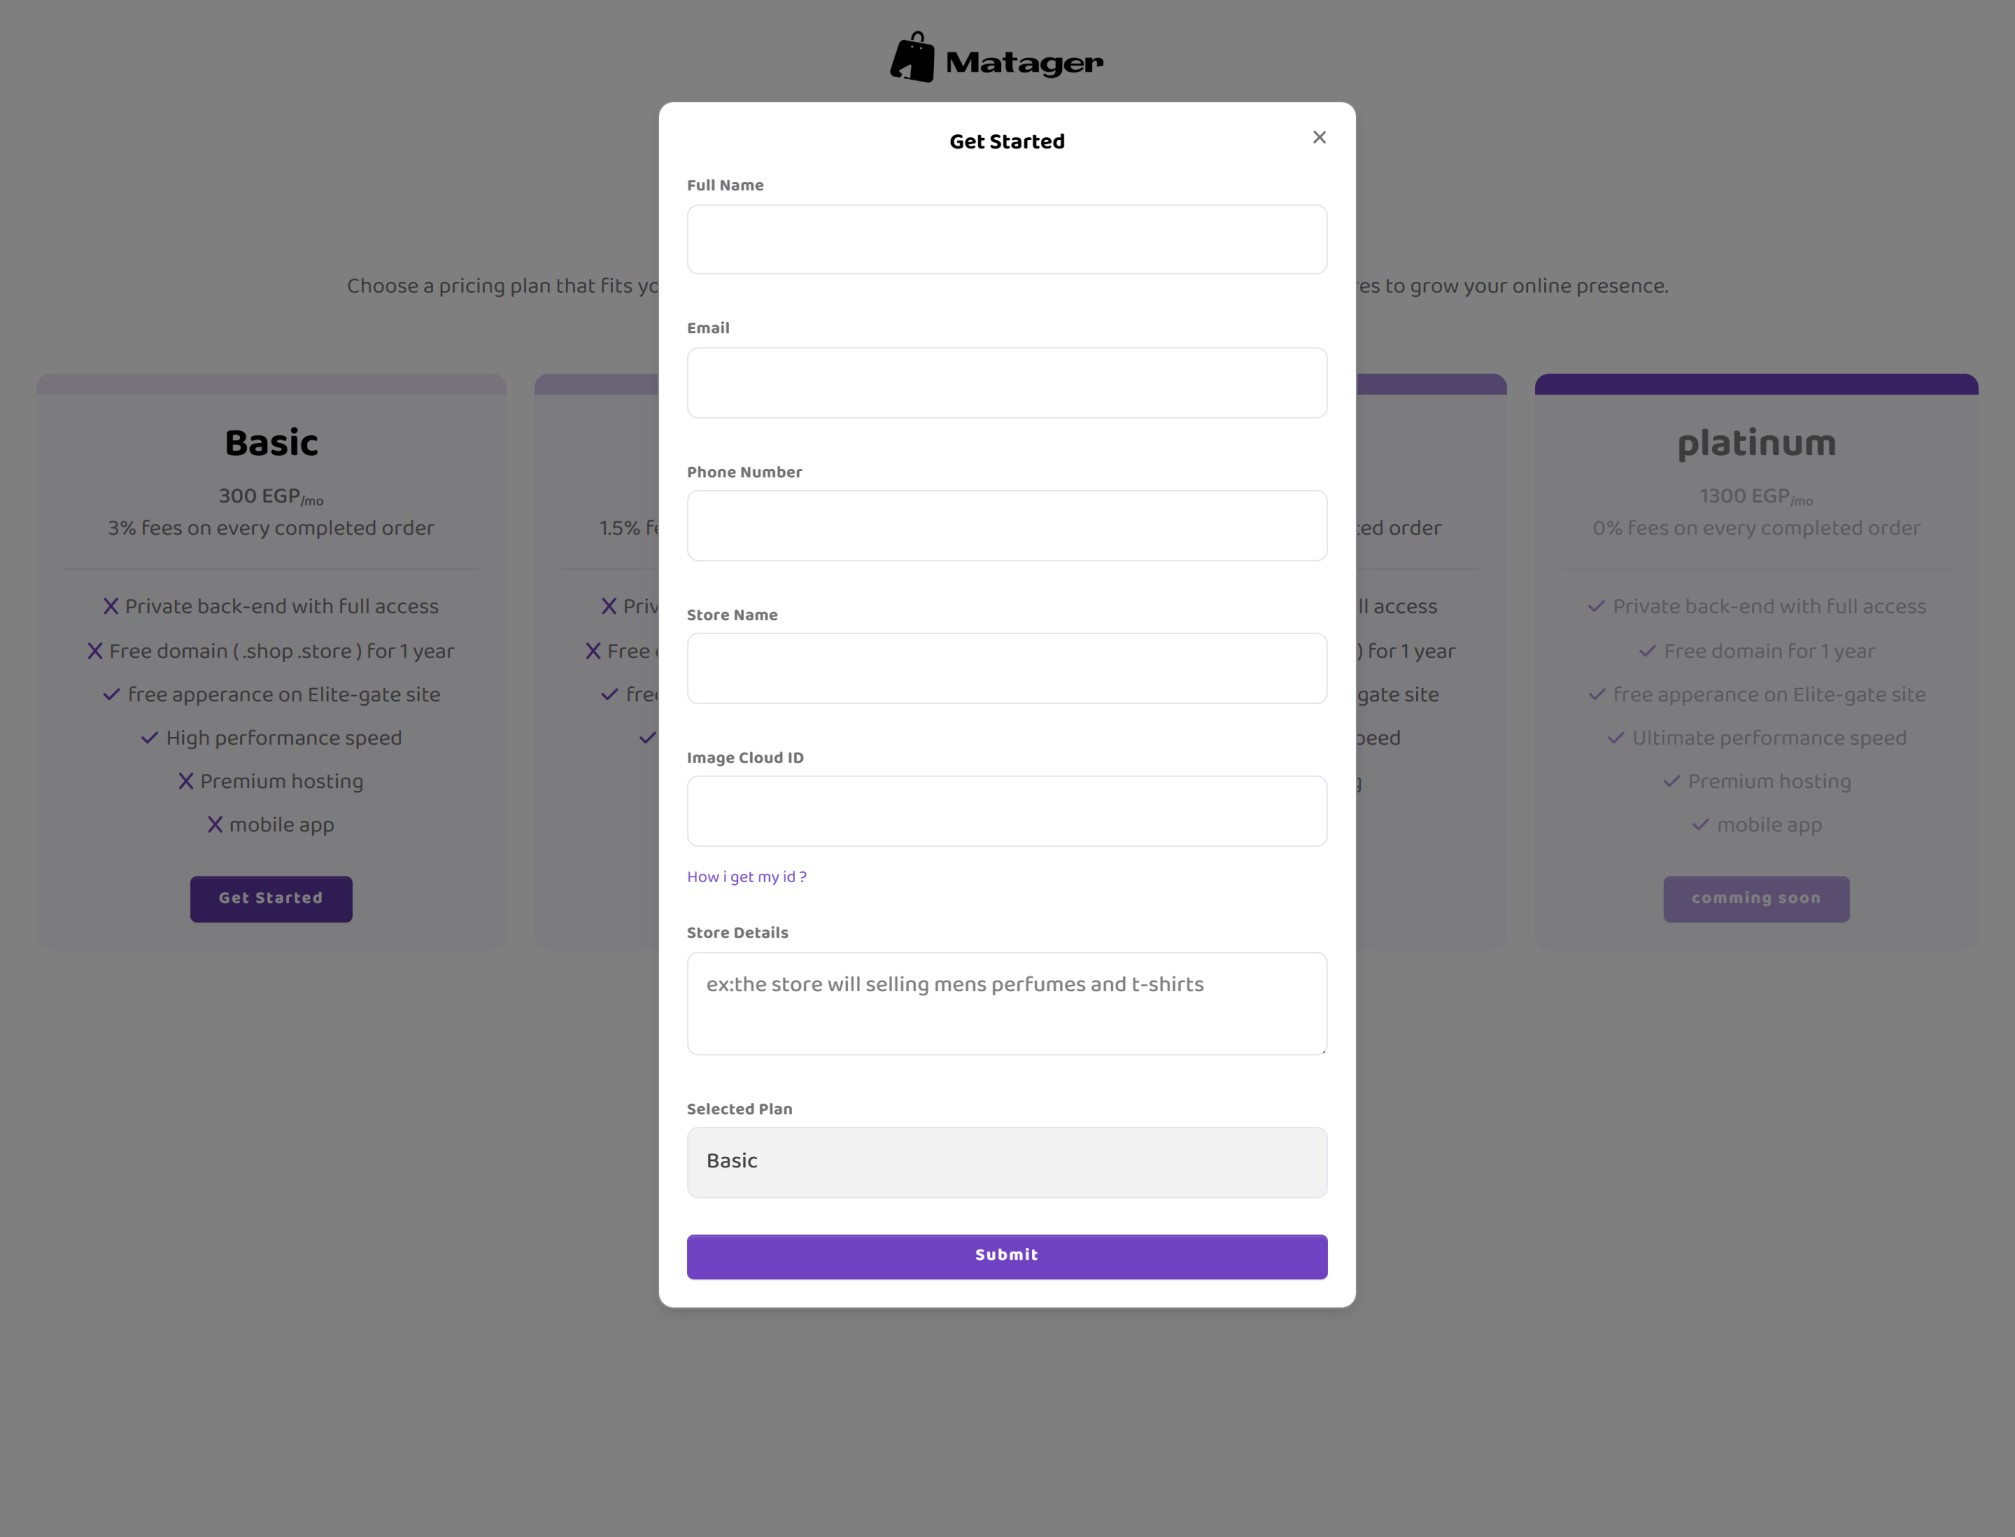
- 4-Fill out the form and hit Submit.
-
- 5-Your request will be sent to our team. Please allow 24 to 48 hours for your site to be completed and deployed.
Getting Started
The price and features of plans may change from
time to time.
We recommend reviewing the details before making a selection.
Please ensure you have entered a valid phone number and email address, as we
will contact you and deliver your store
based on this information.
- 1. Visit Imgur to get started.
-
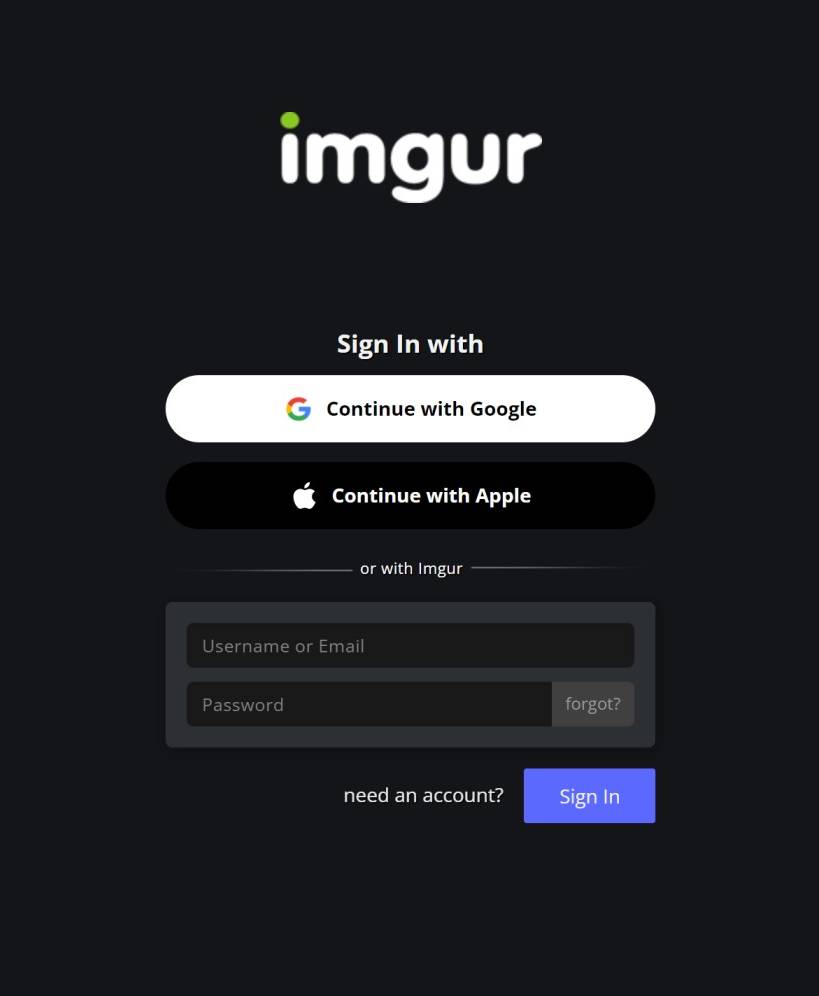
- 2. Create an Imgur account using Google or any other preferred method.
- 3. After logging in, you will be redirected to the Imgur API page.
-
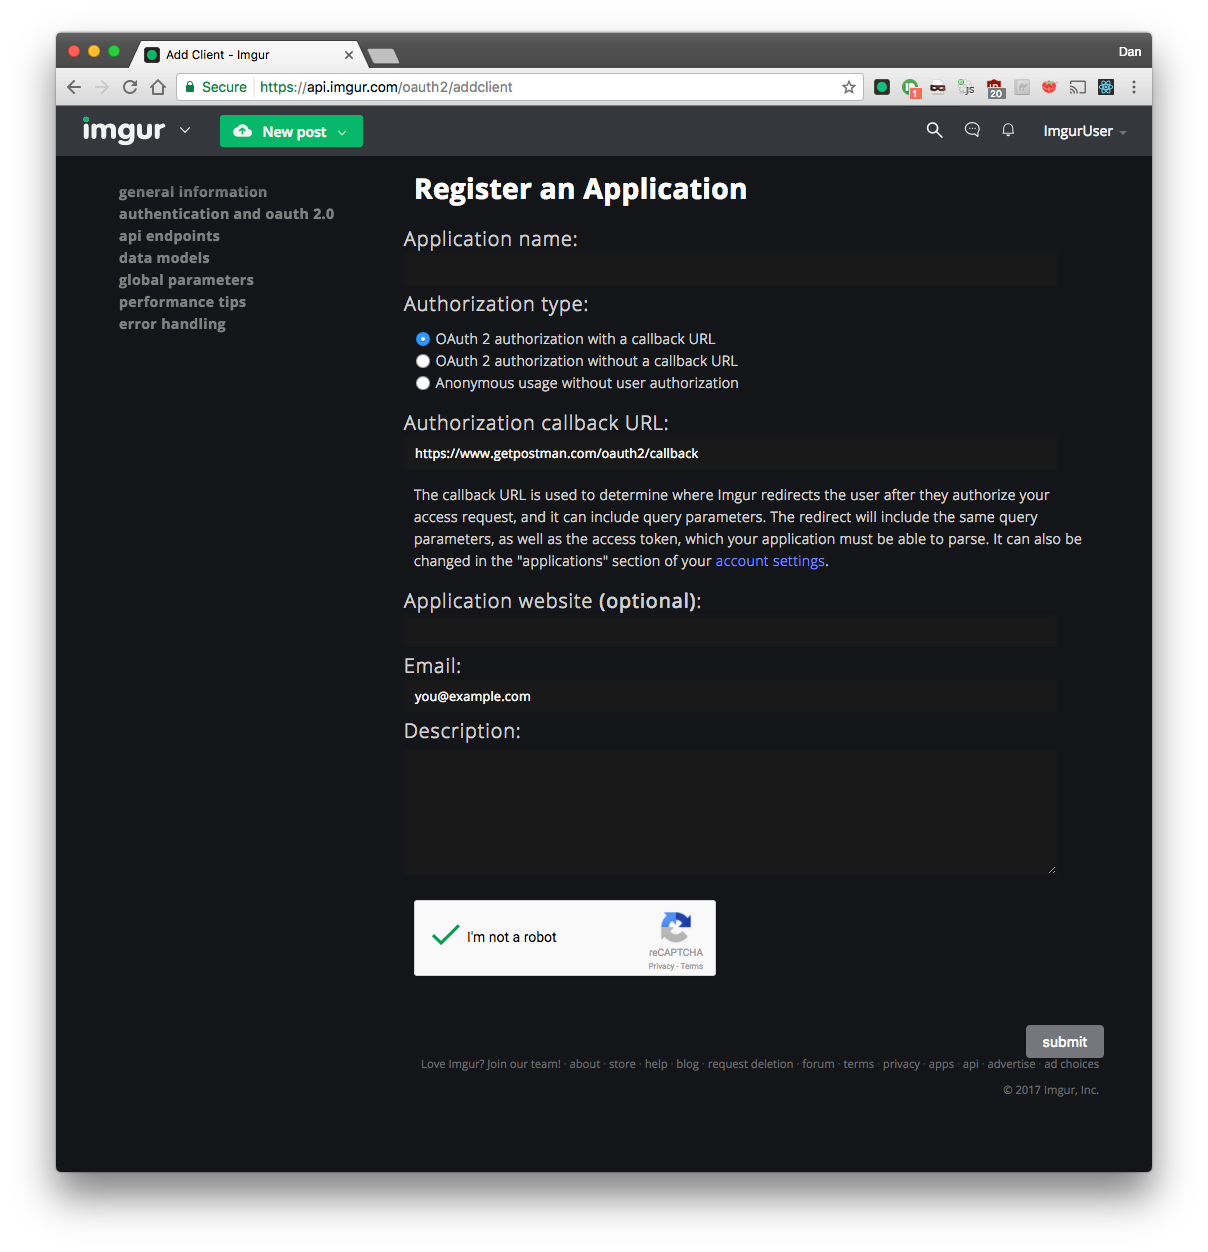
- 4. Register your application using the Postman callback URL: https://www.getpostman.com/oauth2/callback.
- 5. Fill out the required form and click Submit.
- 6. Copy the client ID displayed after successfully creating the application.
-
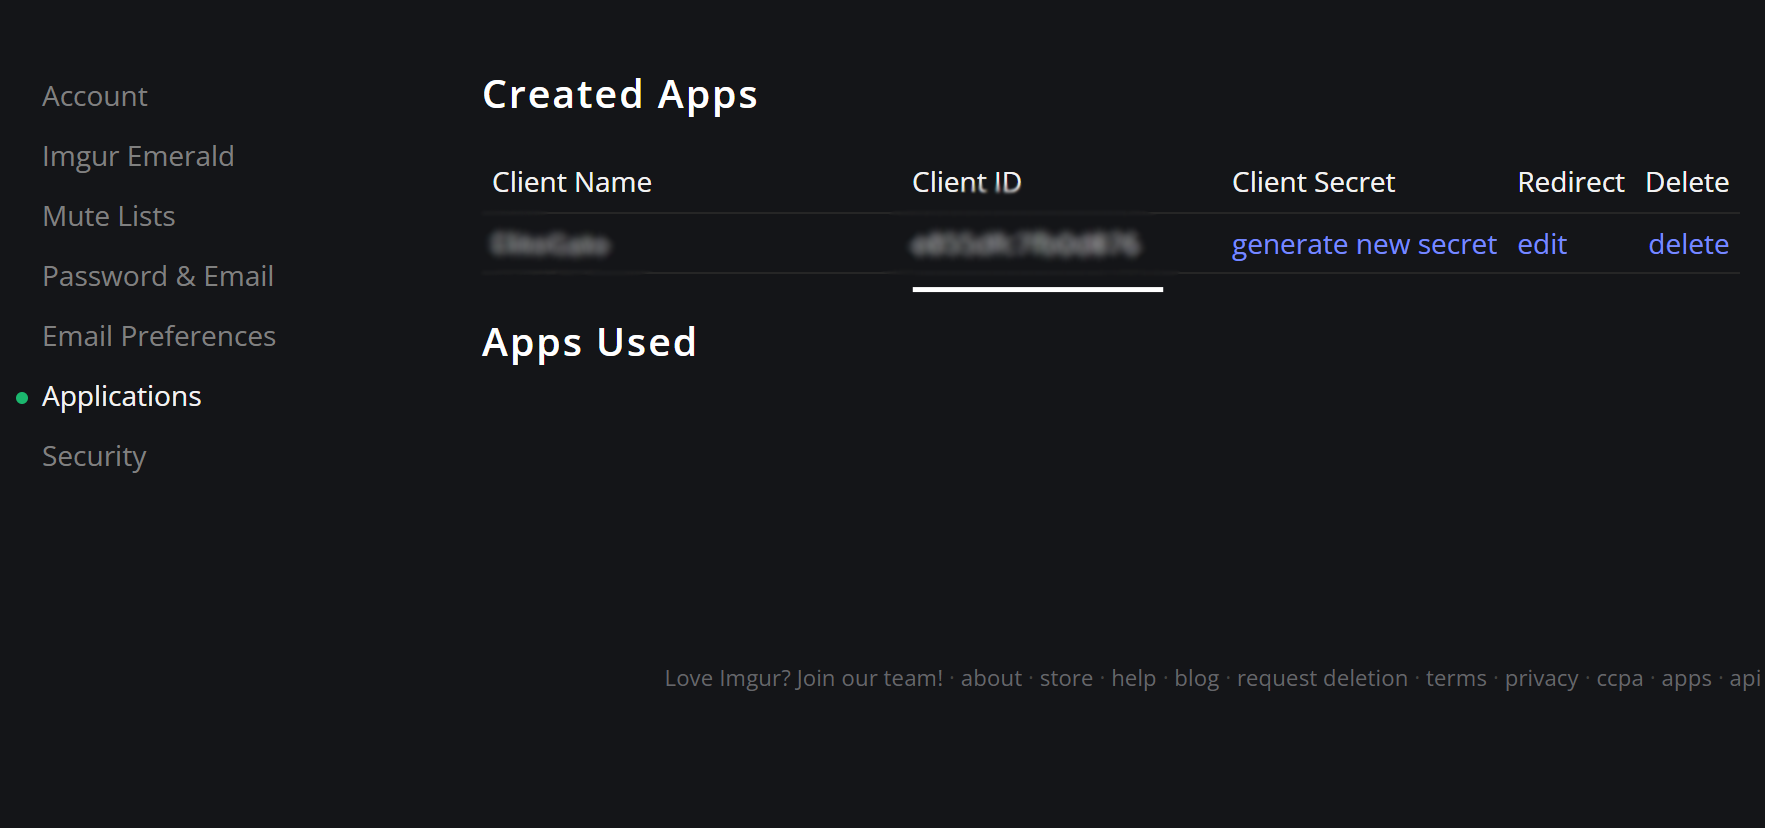
- 7. Paste the client ID into the "Image Cloud ID" input field in the Getting Started form.
Images Cloud
Follow these simple 5 steps to set up your Images Cloud:
Please note that the features and pricing of Imgur plans may change over time.
Review the details
carefully before proceeding.
If you lose access to the page, go to Imgur
Settings to retrieve your client ID.
- Personalized Store Setup: We will contact you to customize your store's main visuals, such as the banner image, and set up additional details like free shipping options, promotional banners, and more to reflect your brand identity.
- Comprehensive Documentation: Our detailed guides will walk you through updating your store information, including product details, categories, and store policies. With step-by-step instructions, you'll quickly learn how to navigate the system and manage your store effortlessly.
- Thorough Testing and Seamless Launch: Once the setup is complete, we will rigorously test your website to ensure everything works seamlessly before launch, giving you peace of mind.
- Ongoing Support and Updates: Enjoy regular system updates and expert support to help you keep your store running smoothly and adapt to new features.
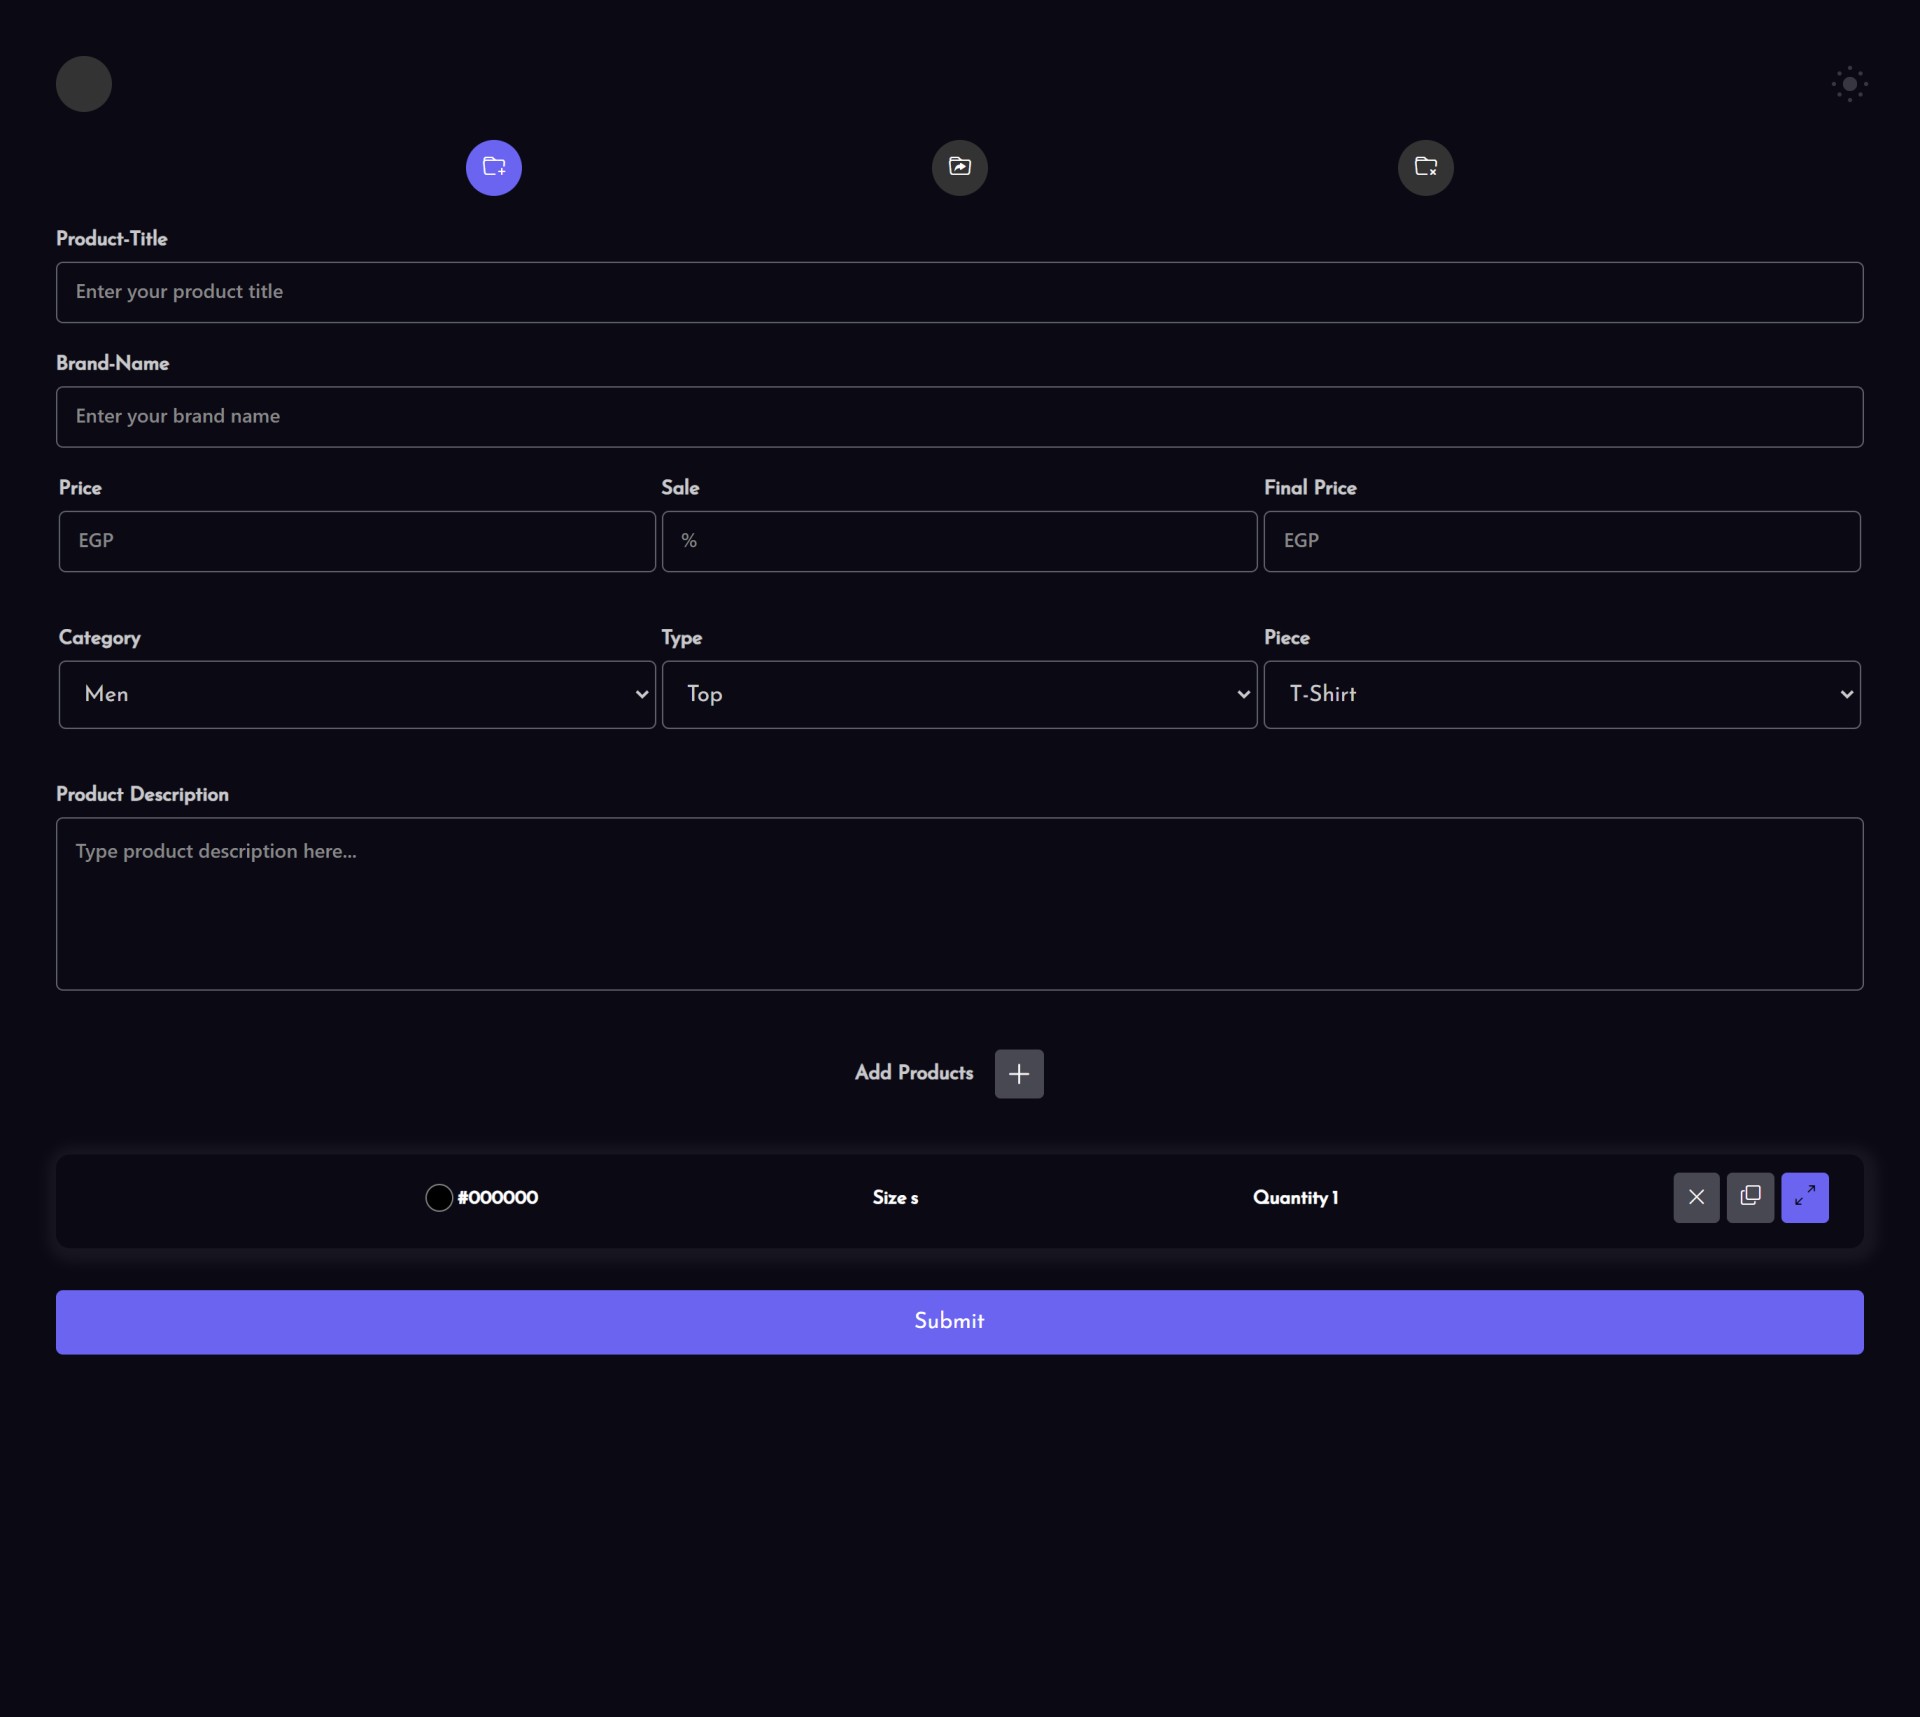
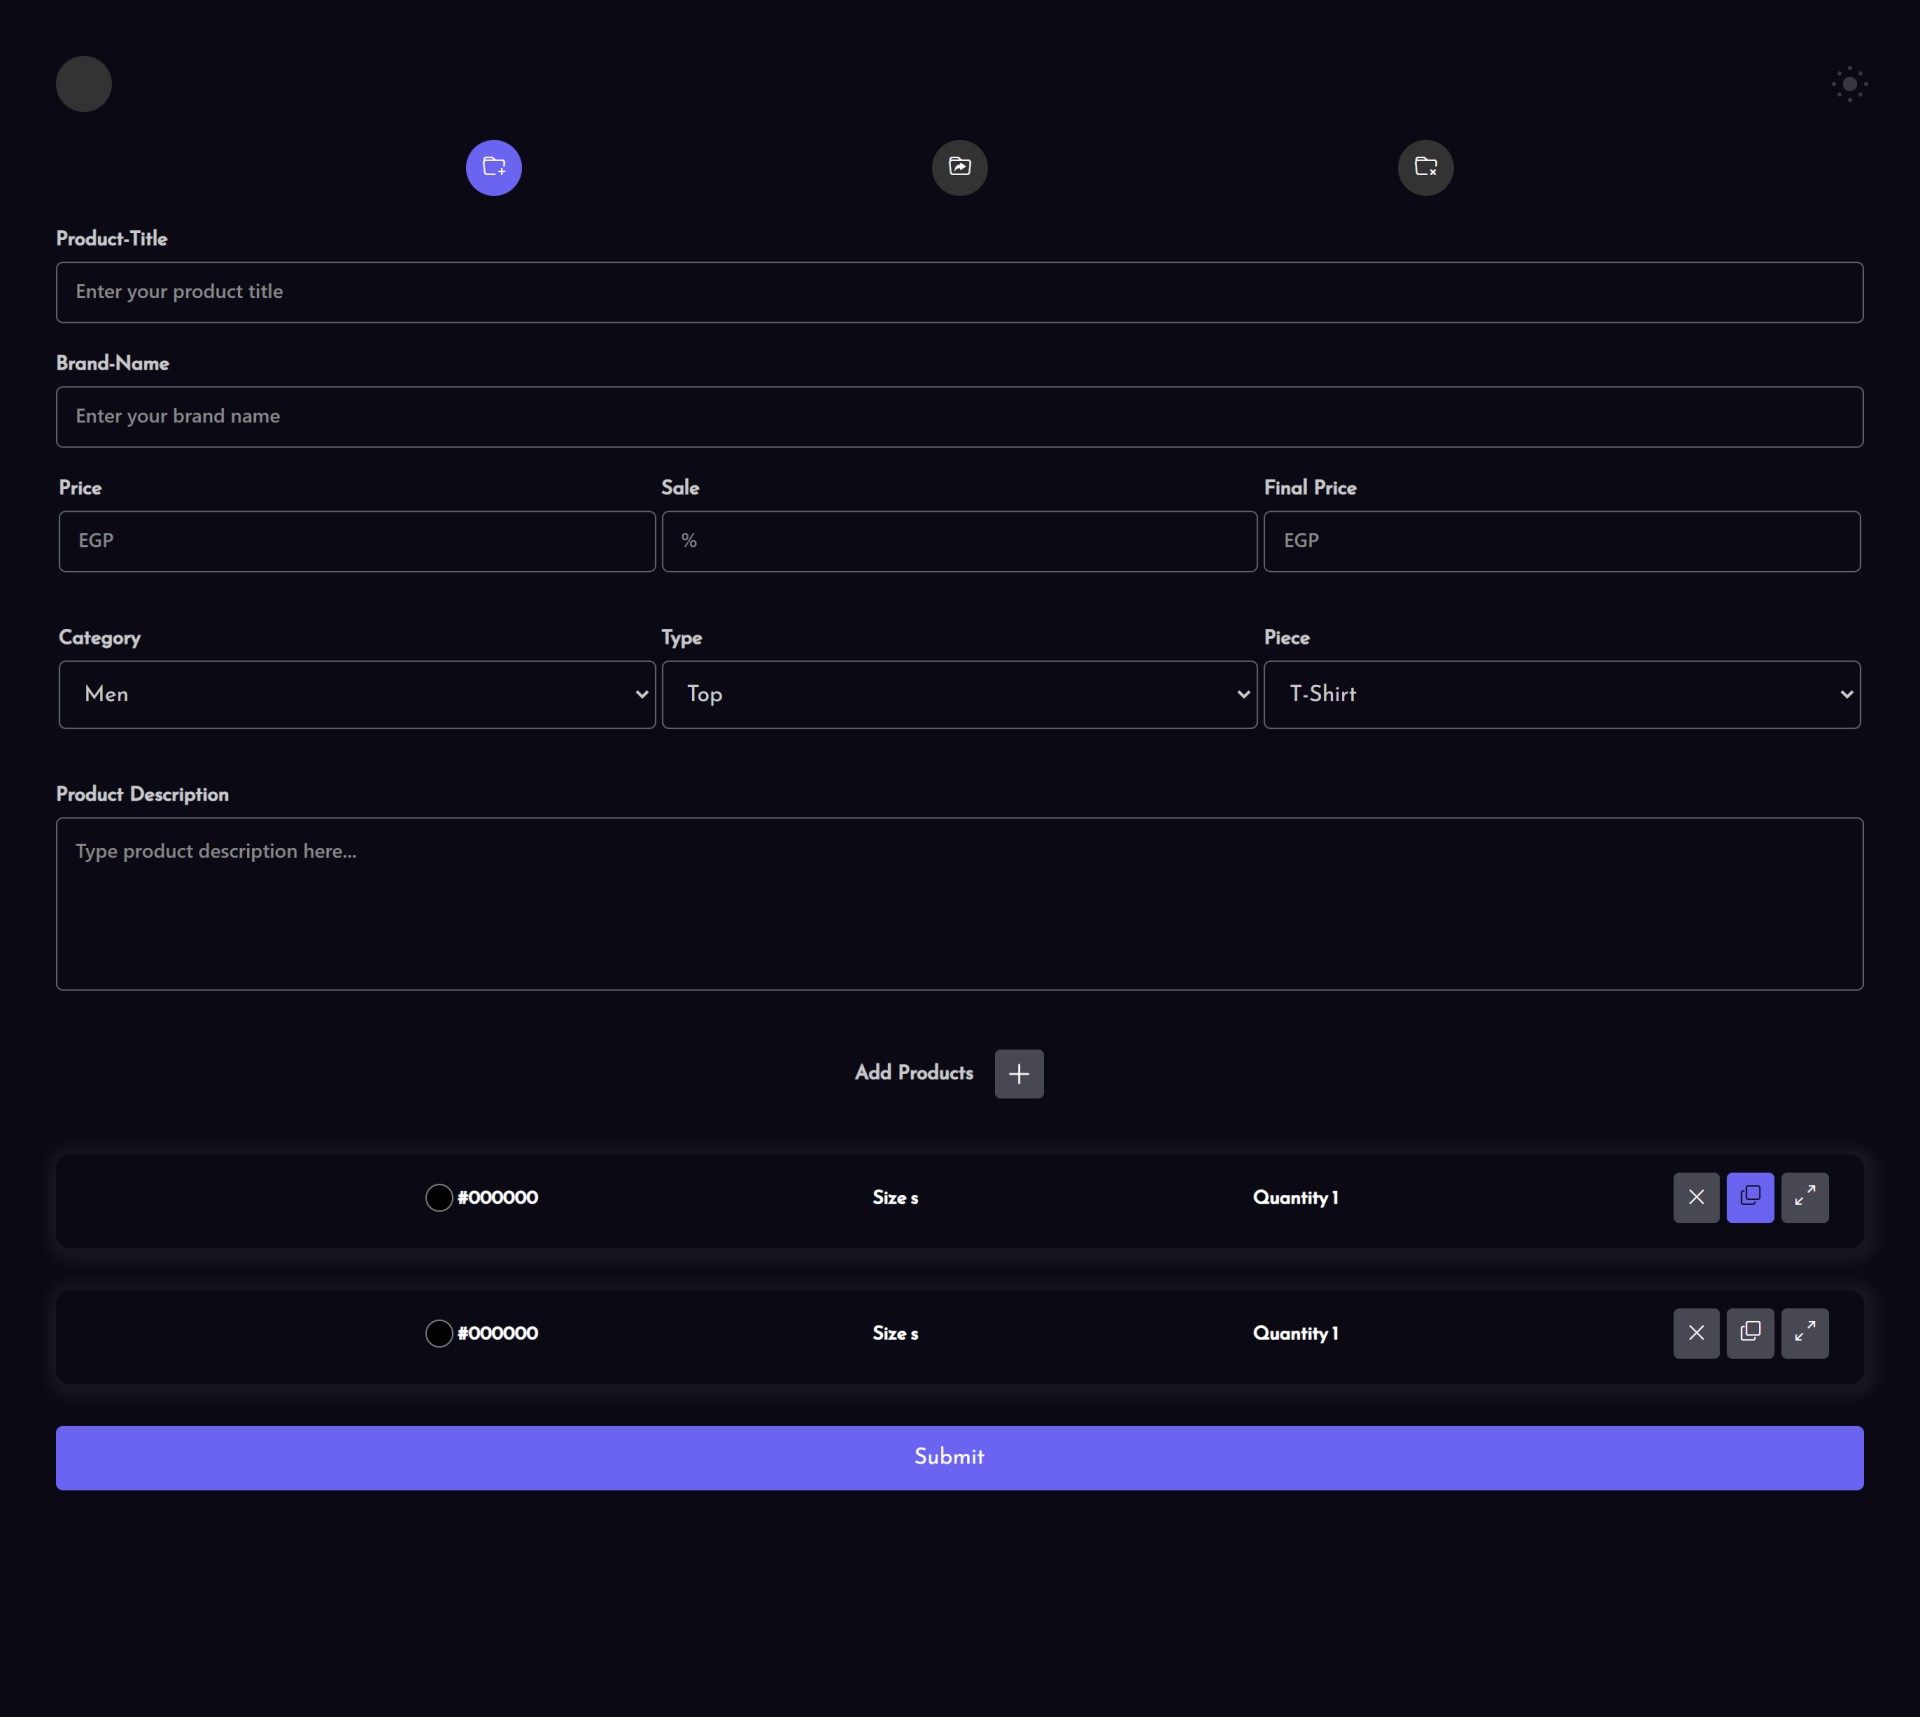
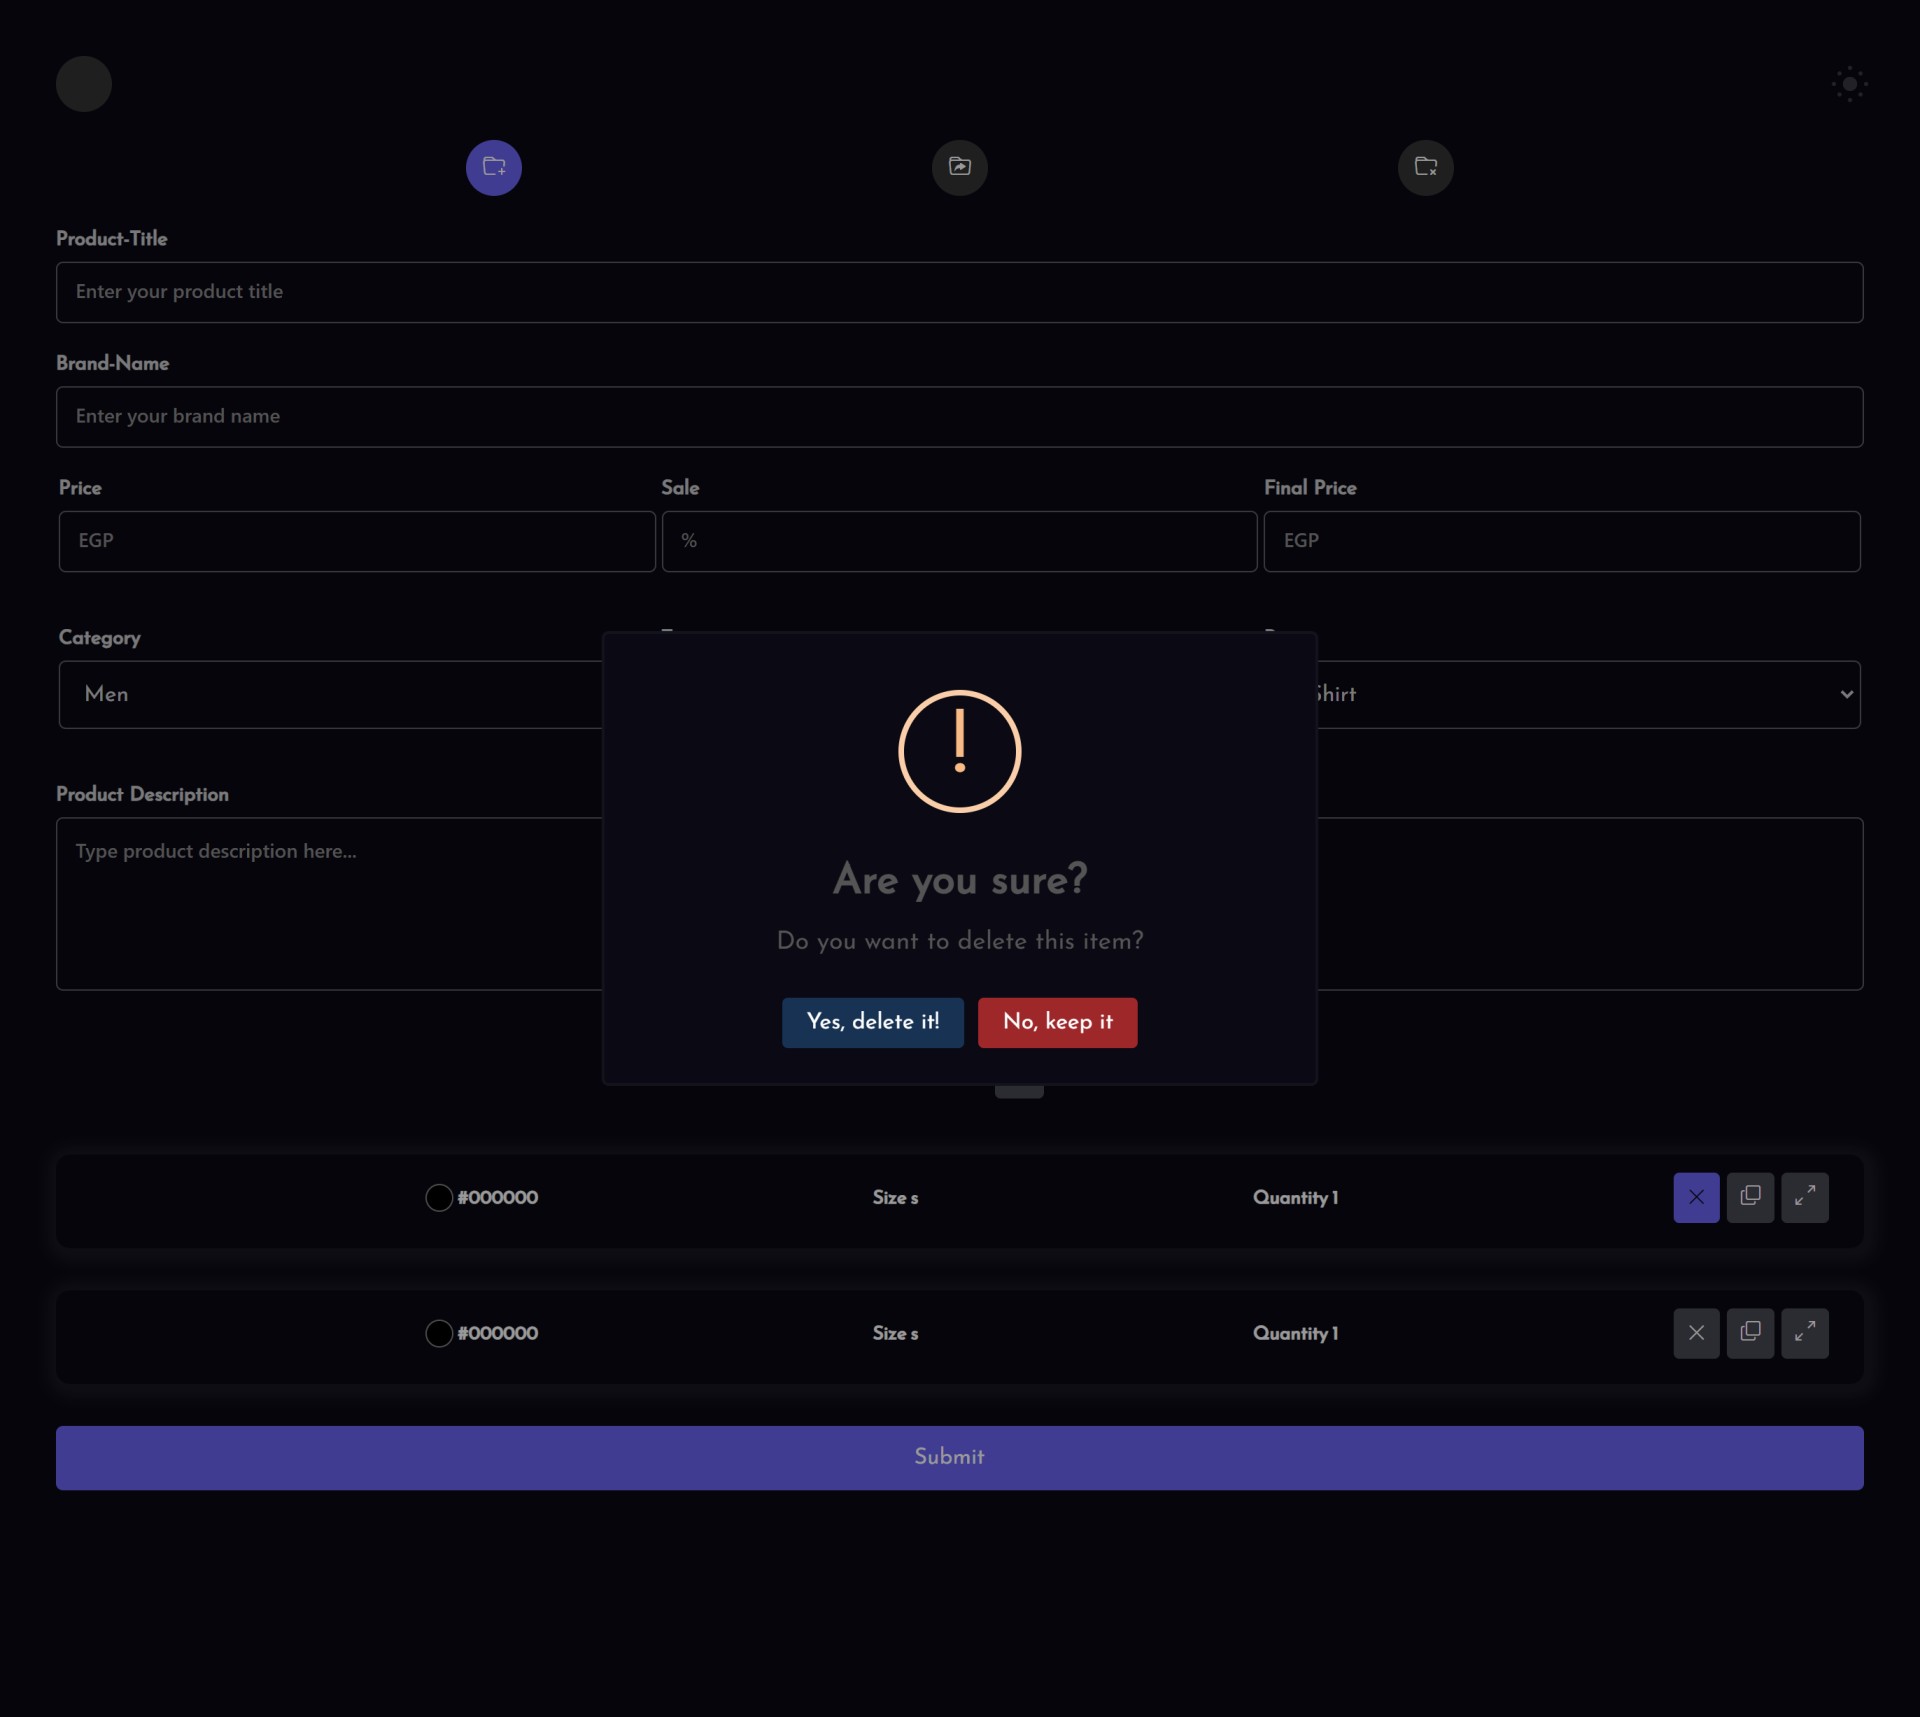
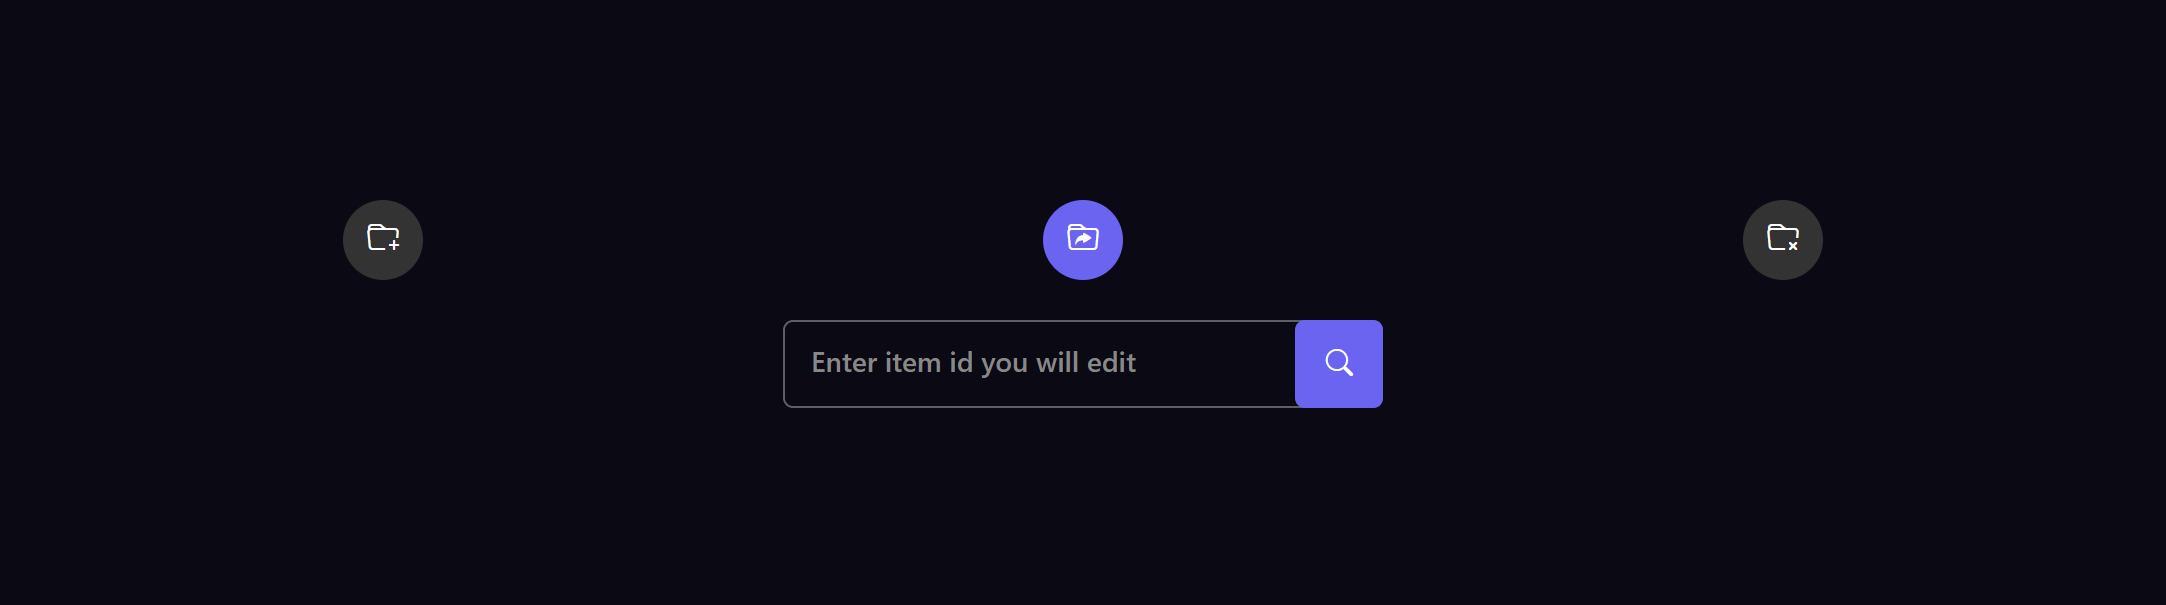
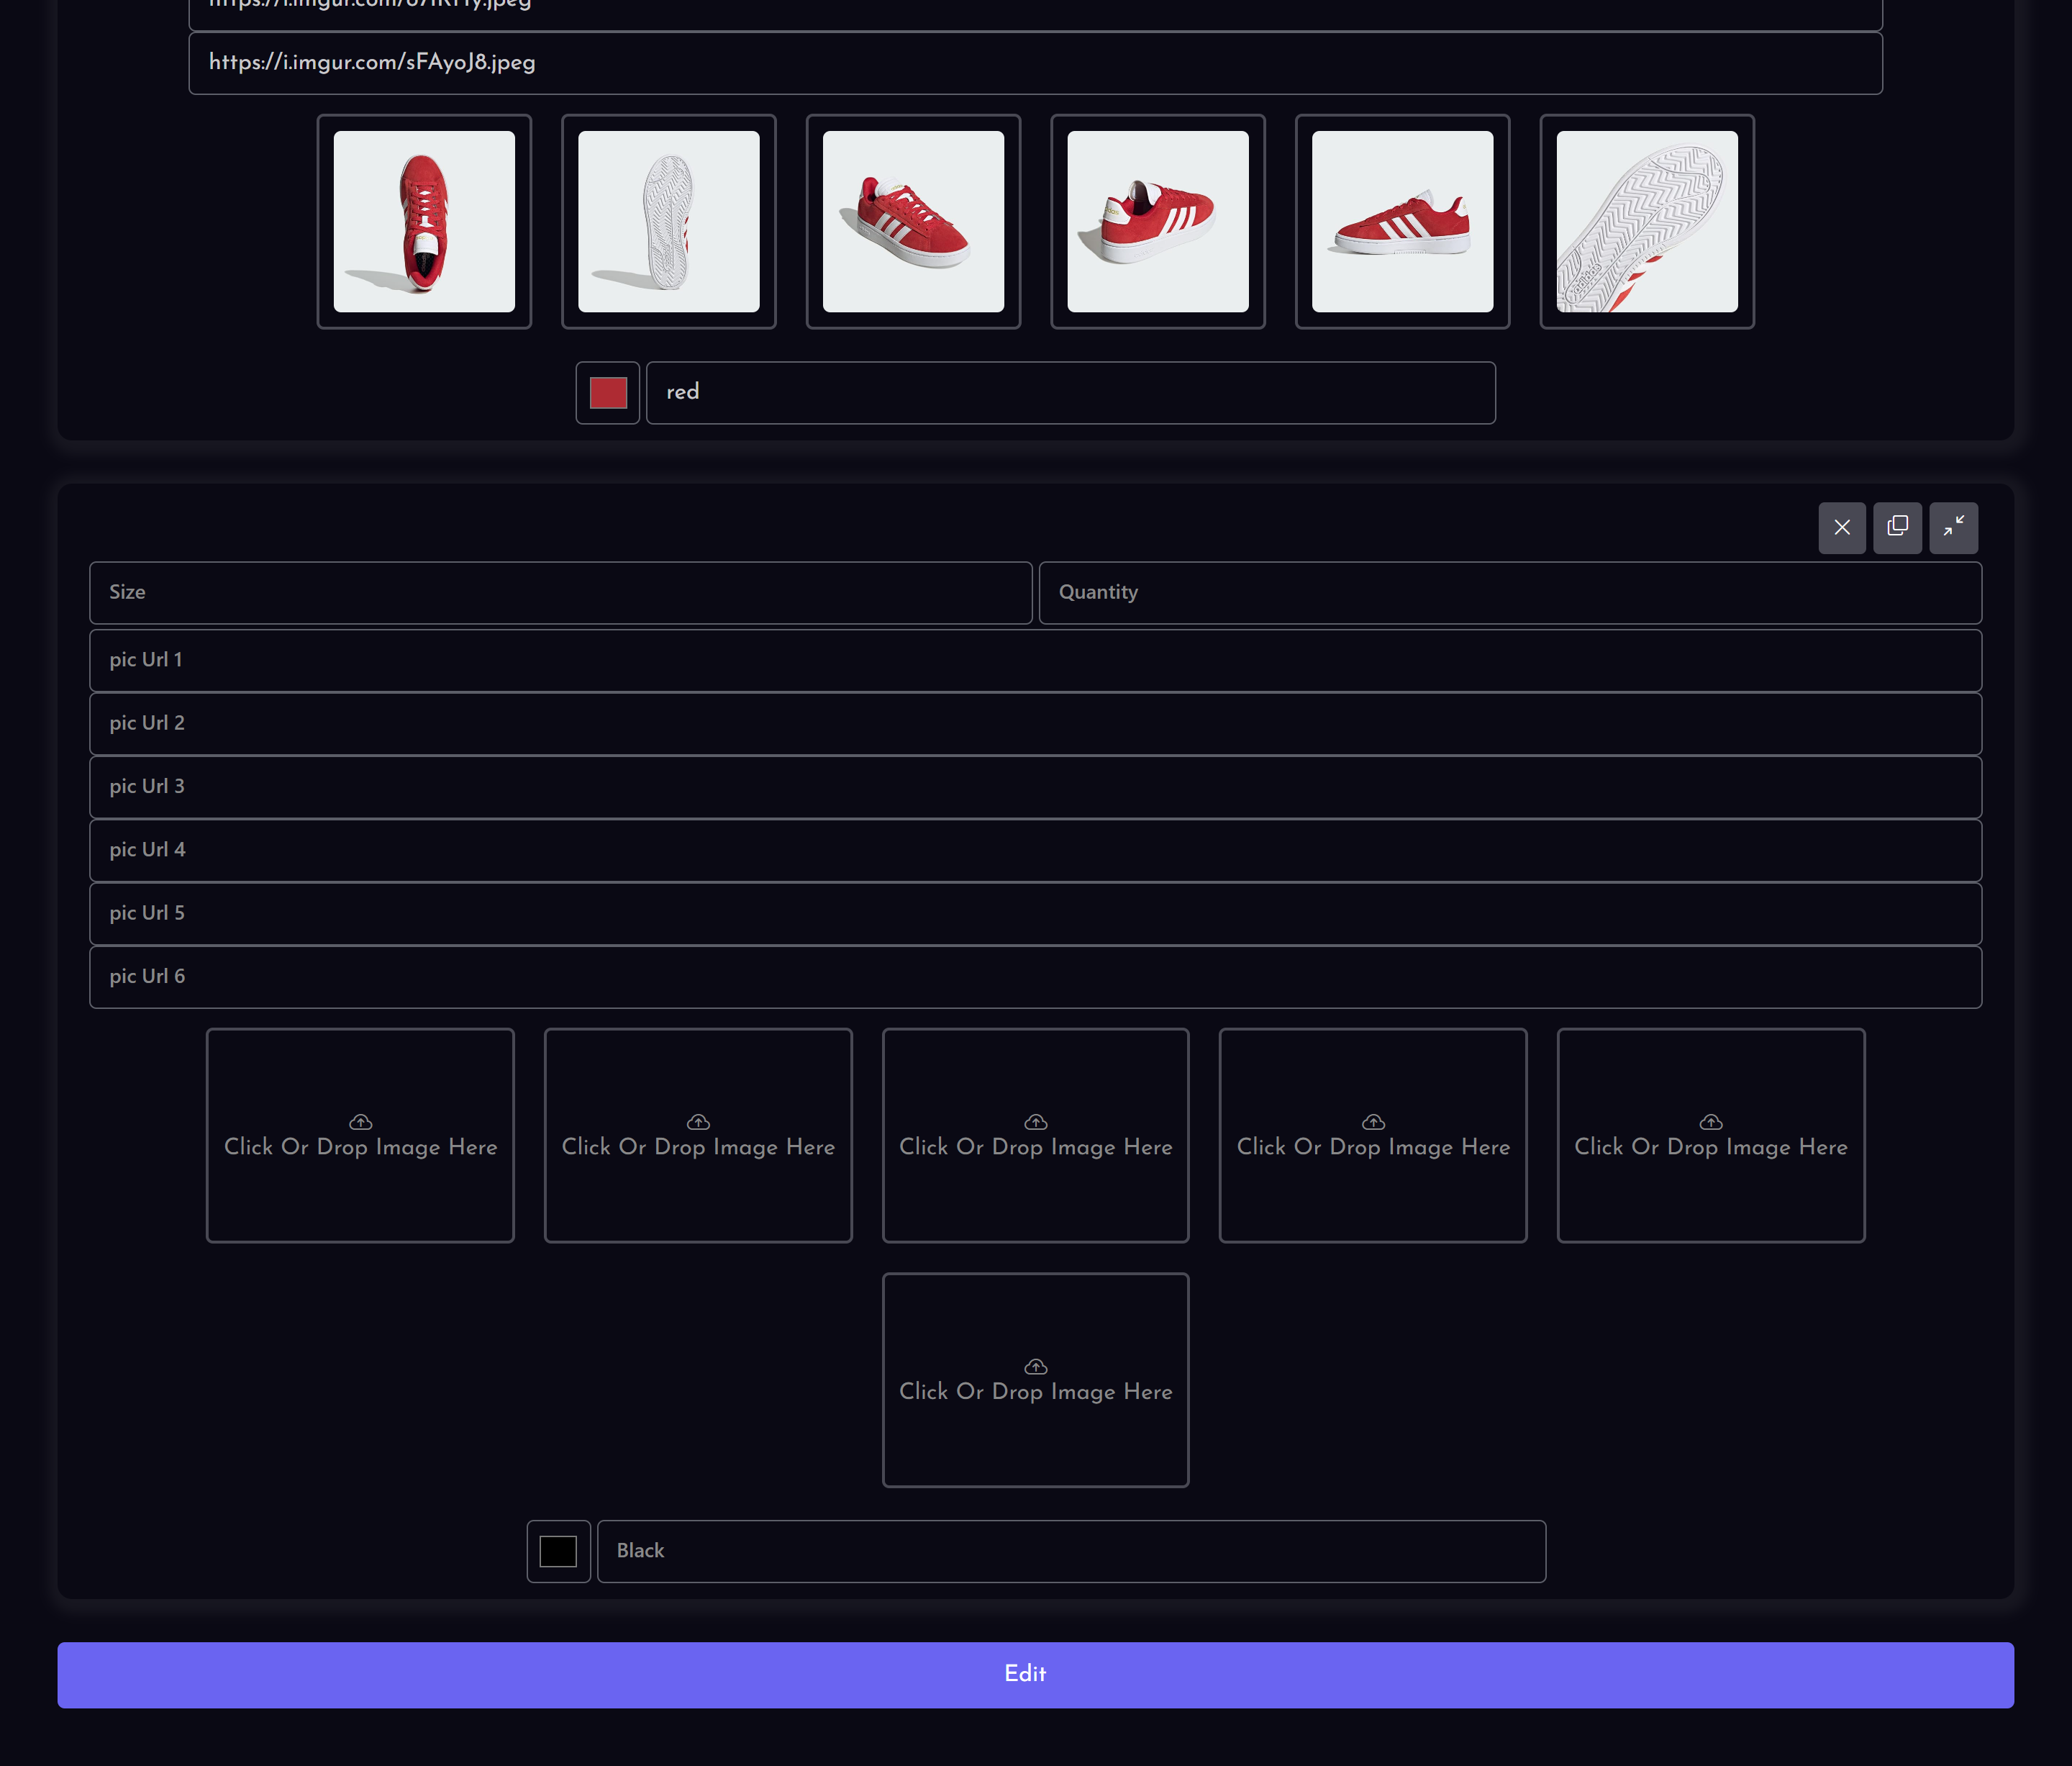
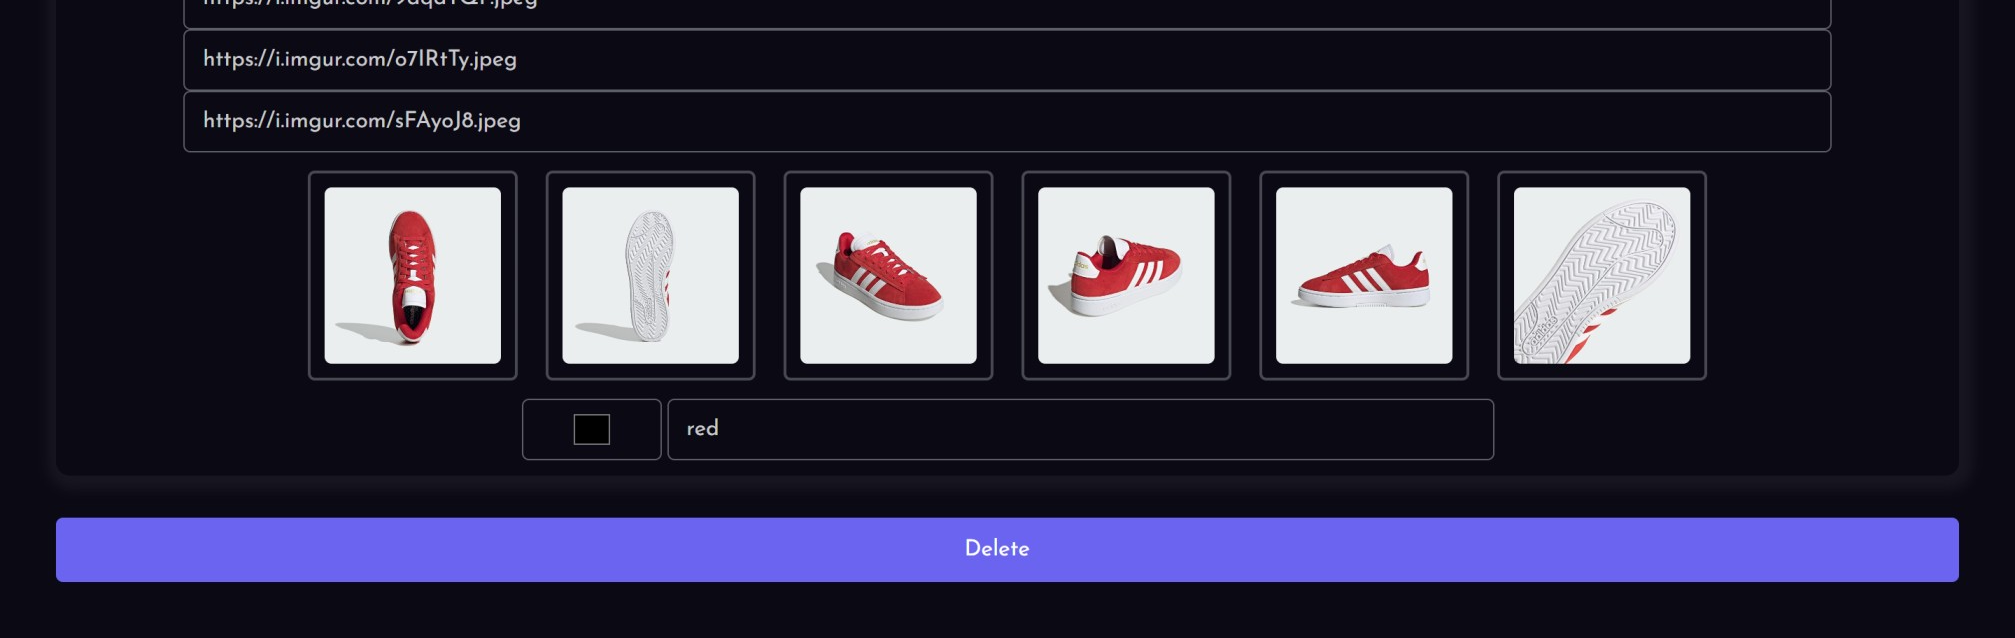
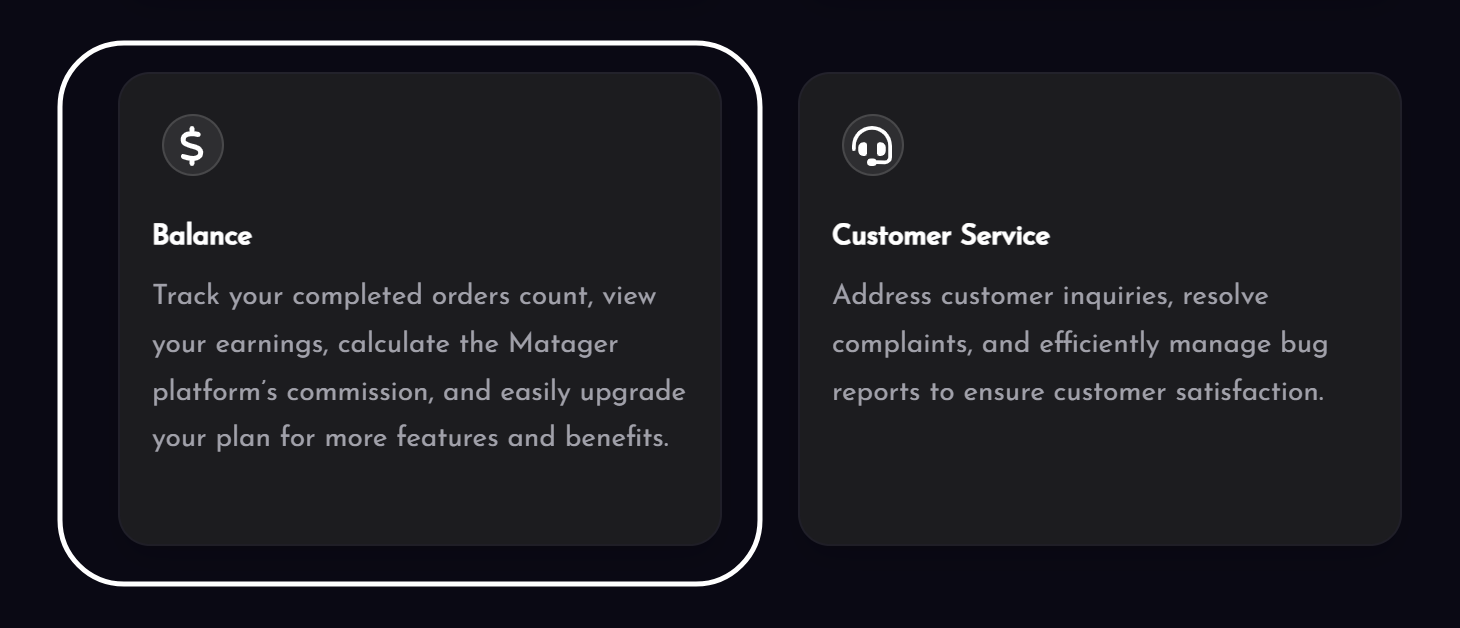
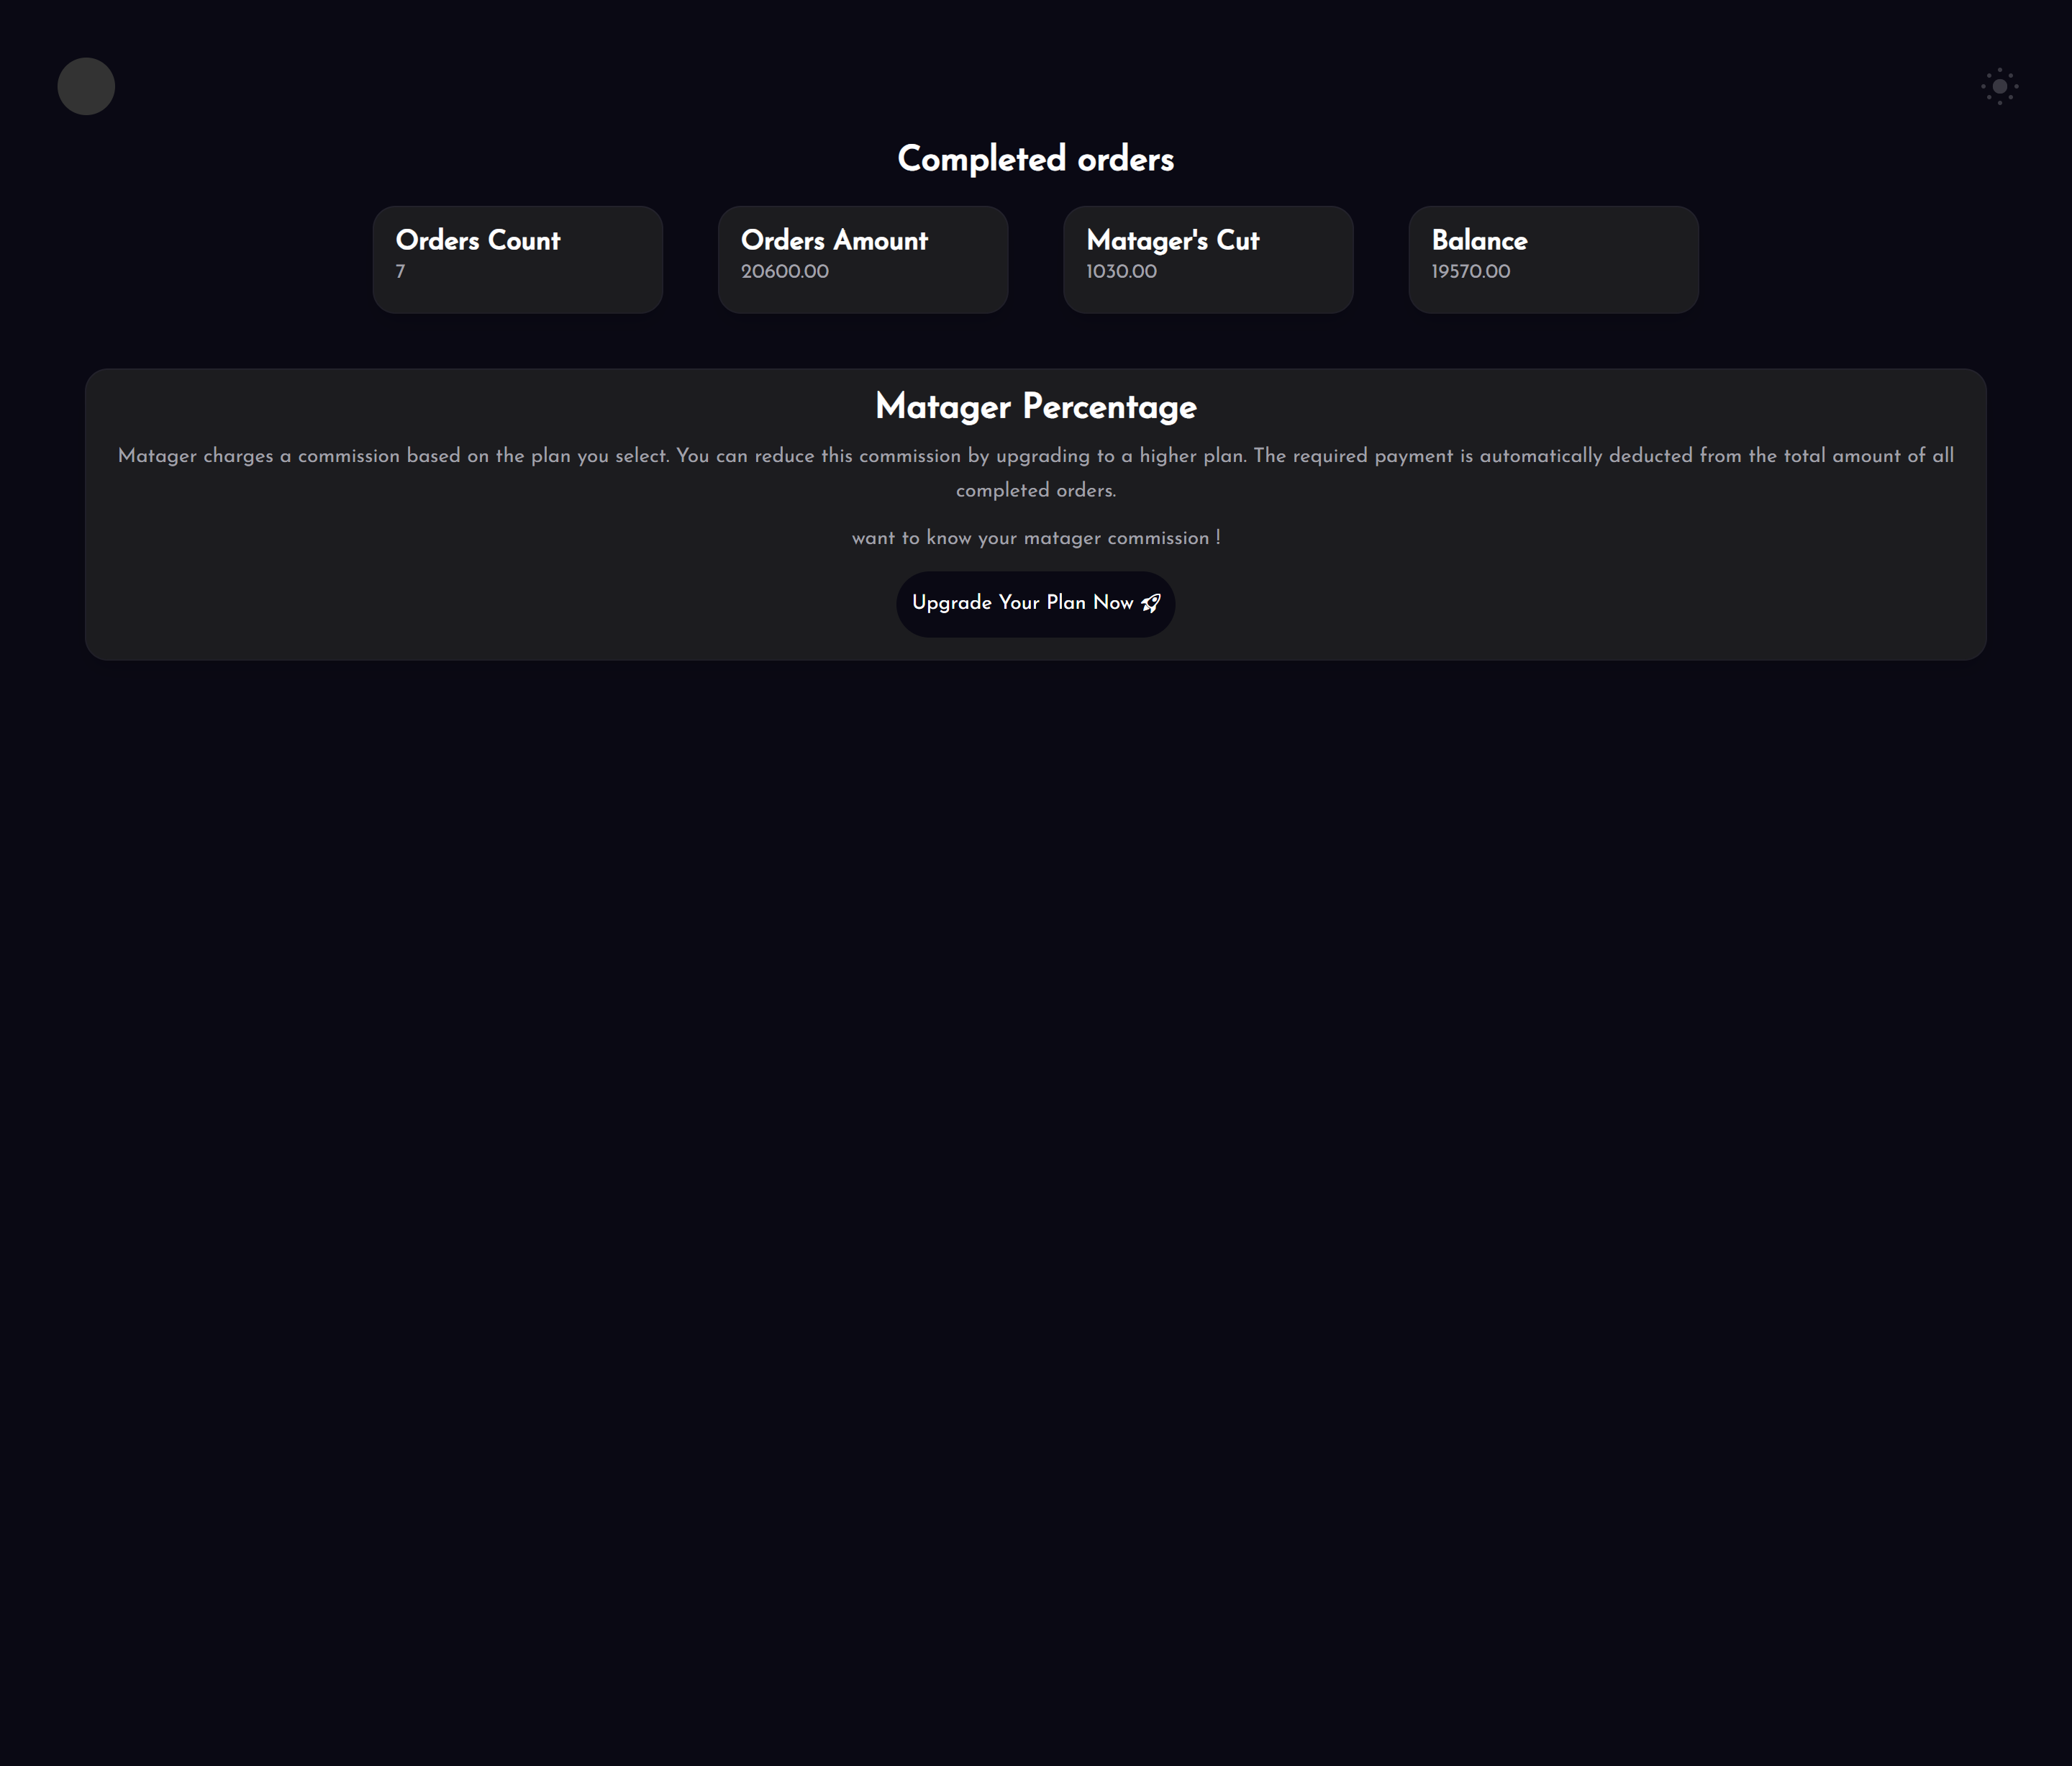
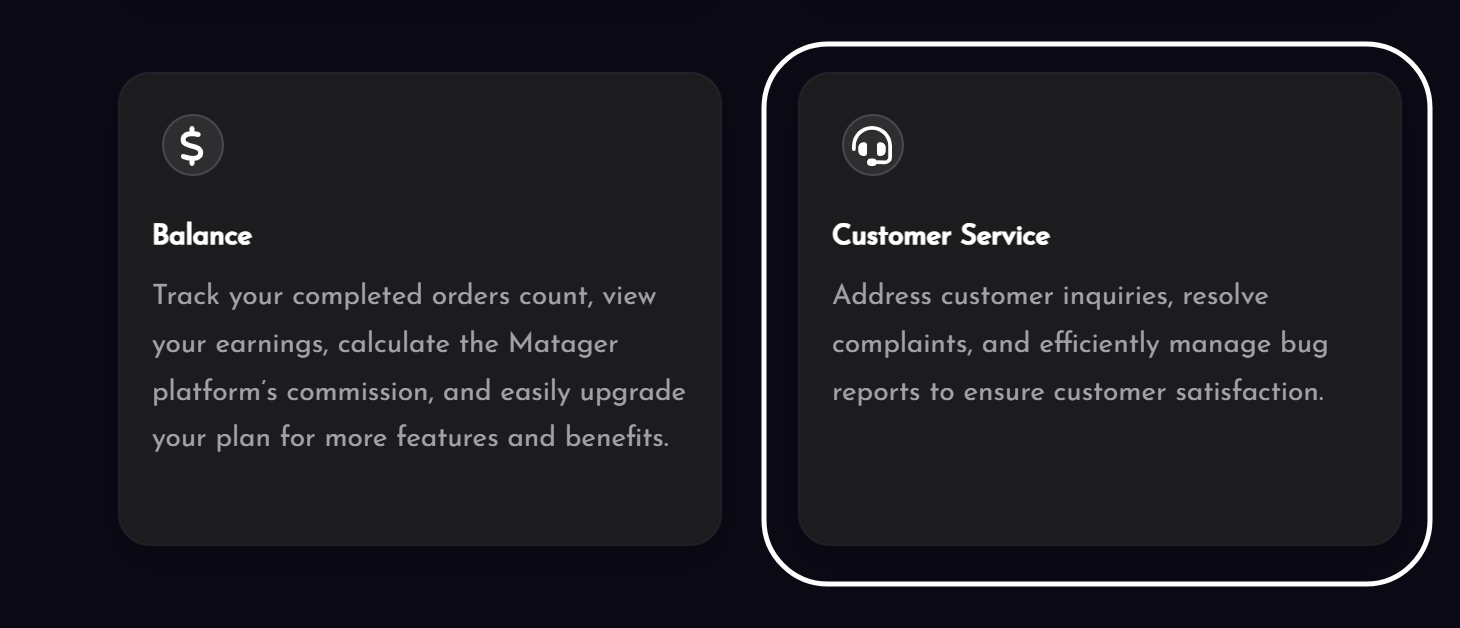
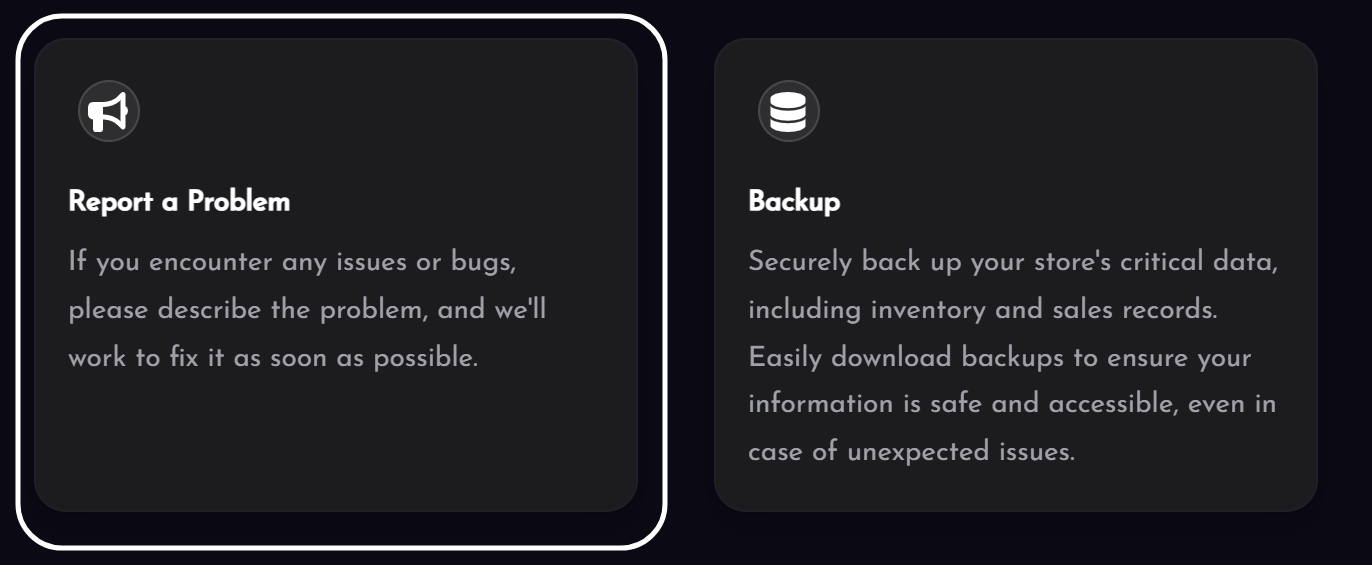
Web Store
-
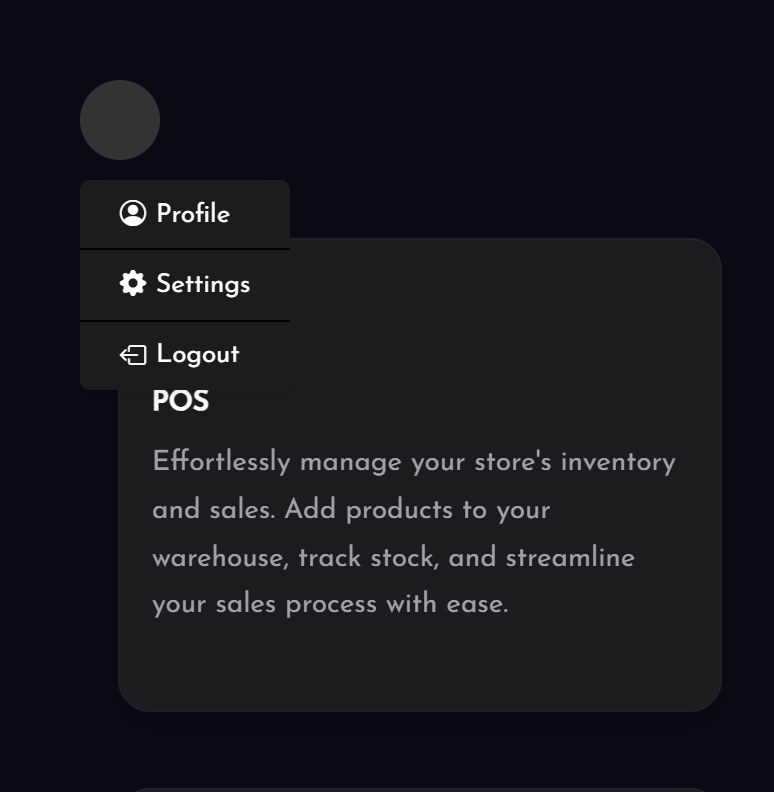
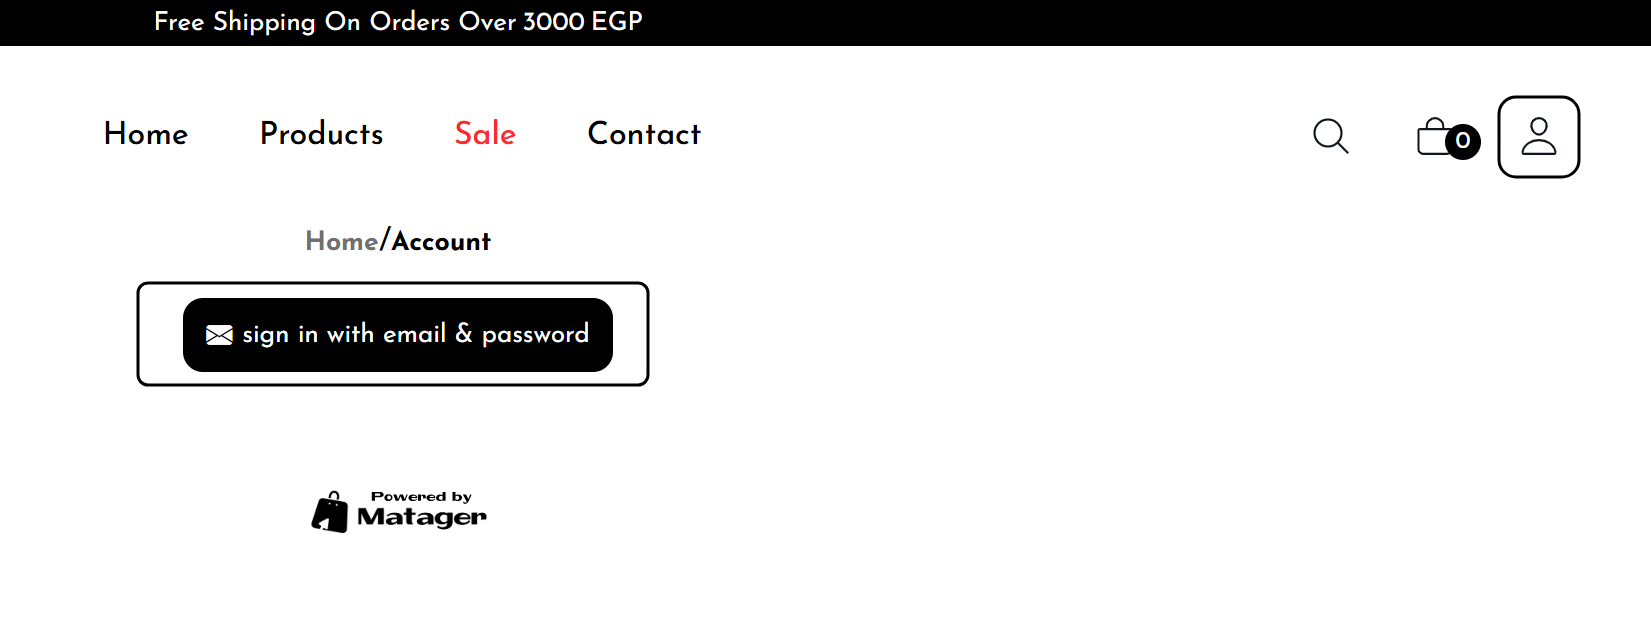
Navigate to Your Account
To access your account page, go to the Profile section on any website powered by us. From there, you can sign in or create a new account. -
-
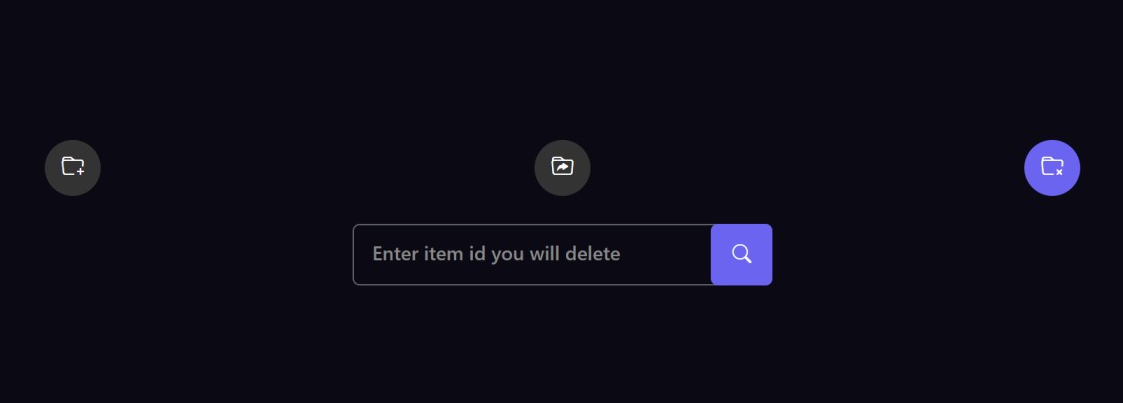
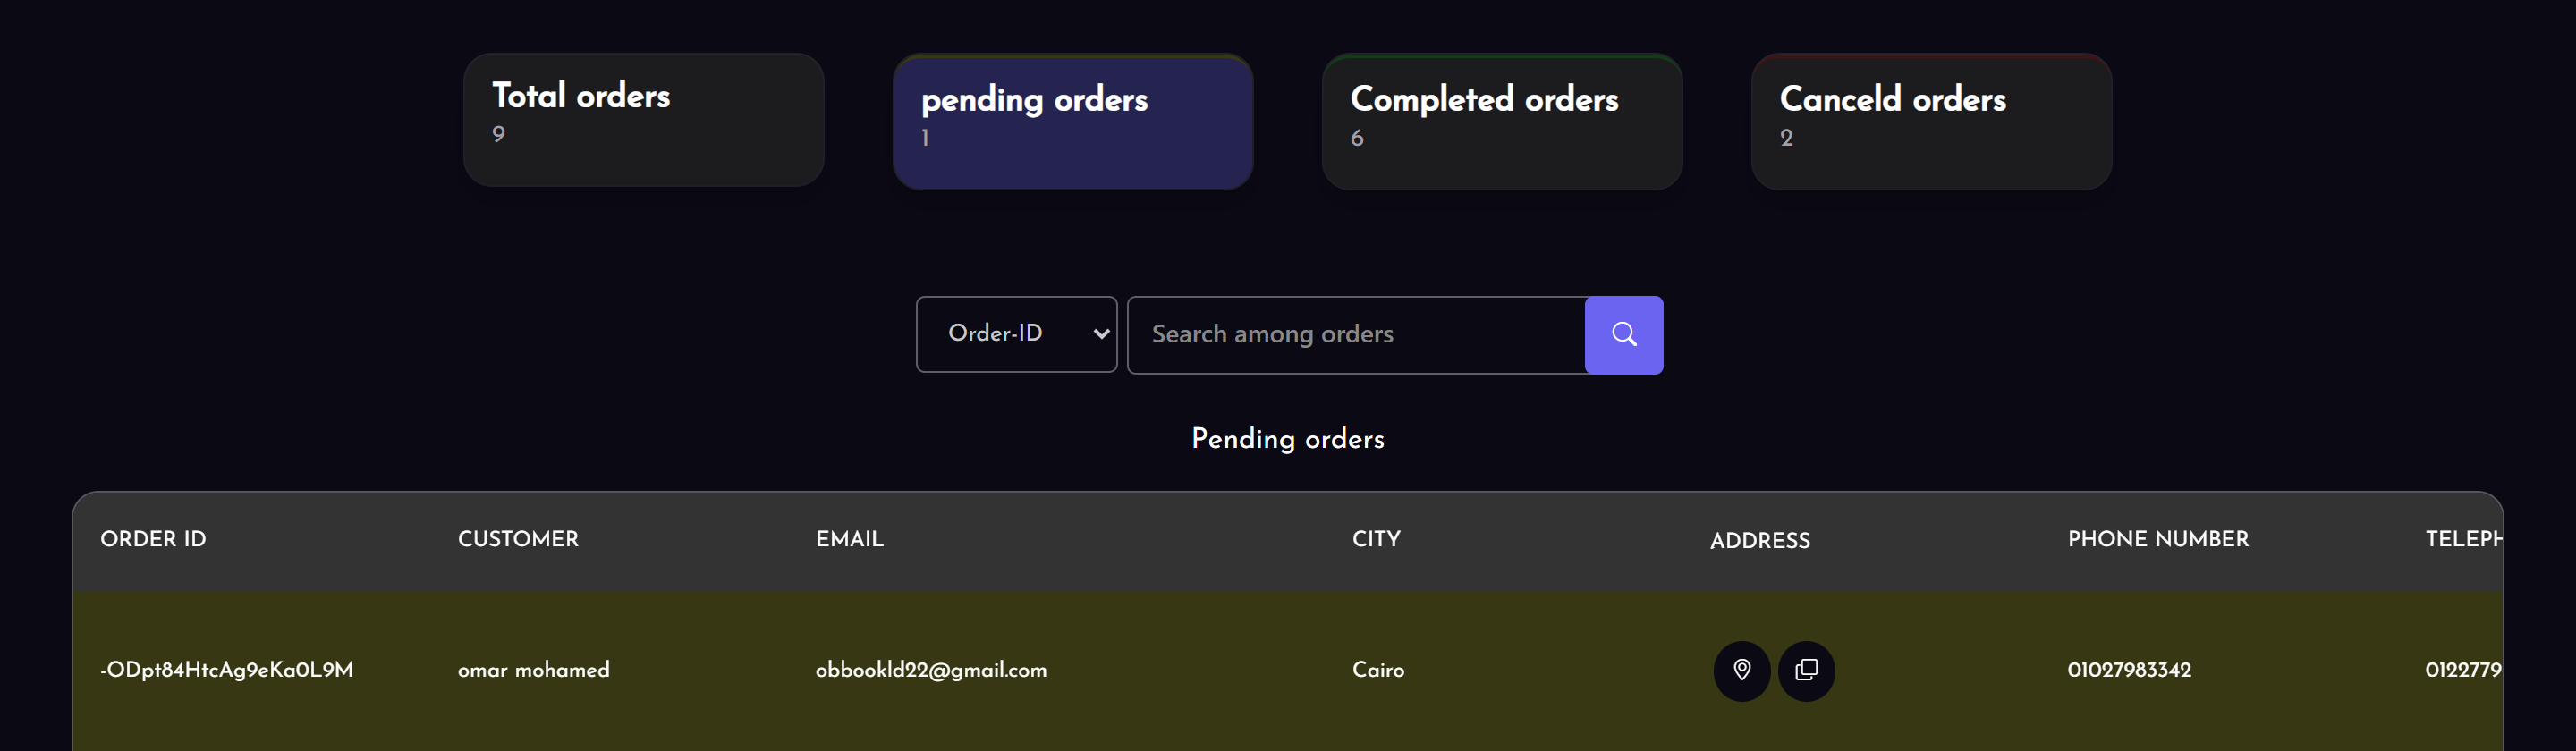
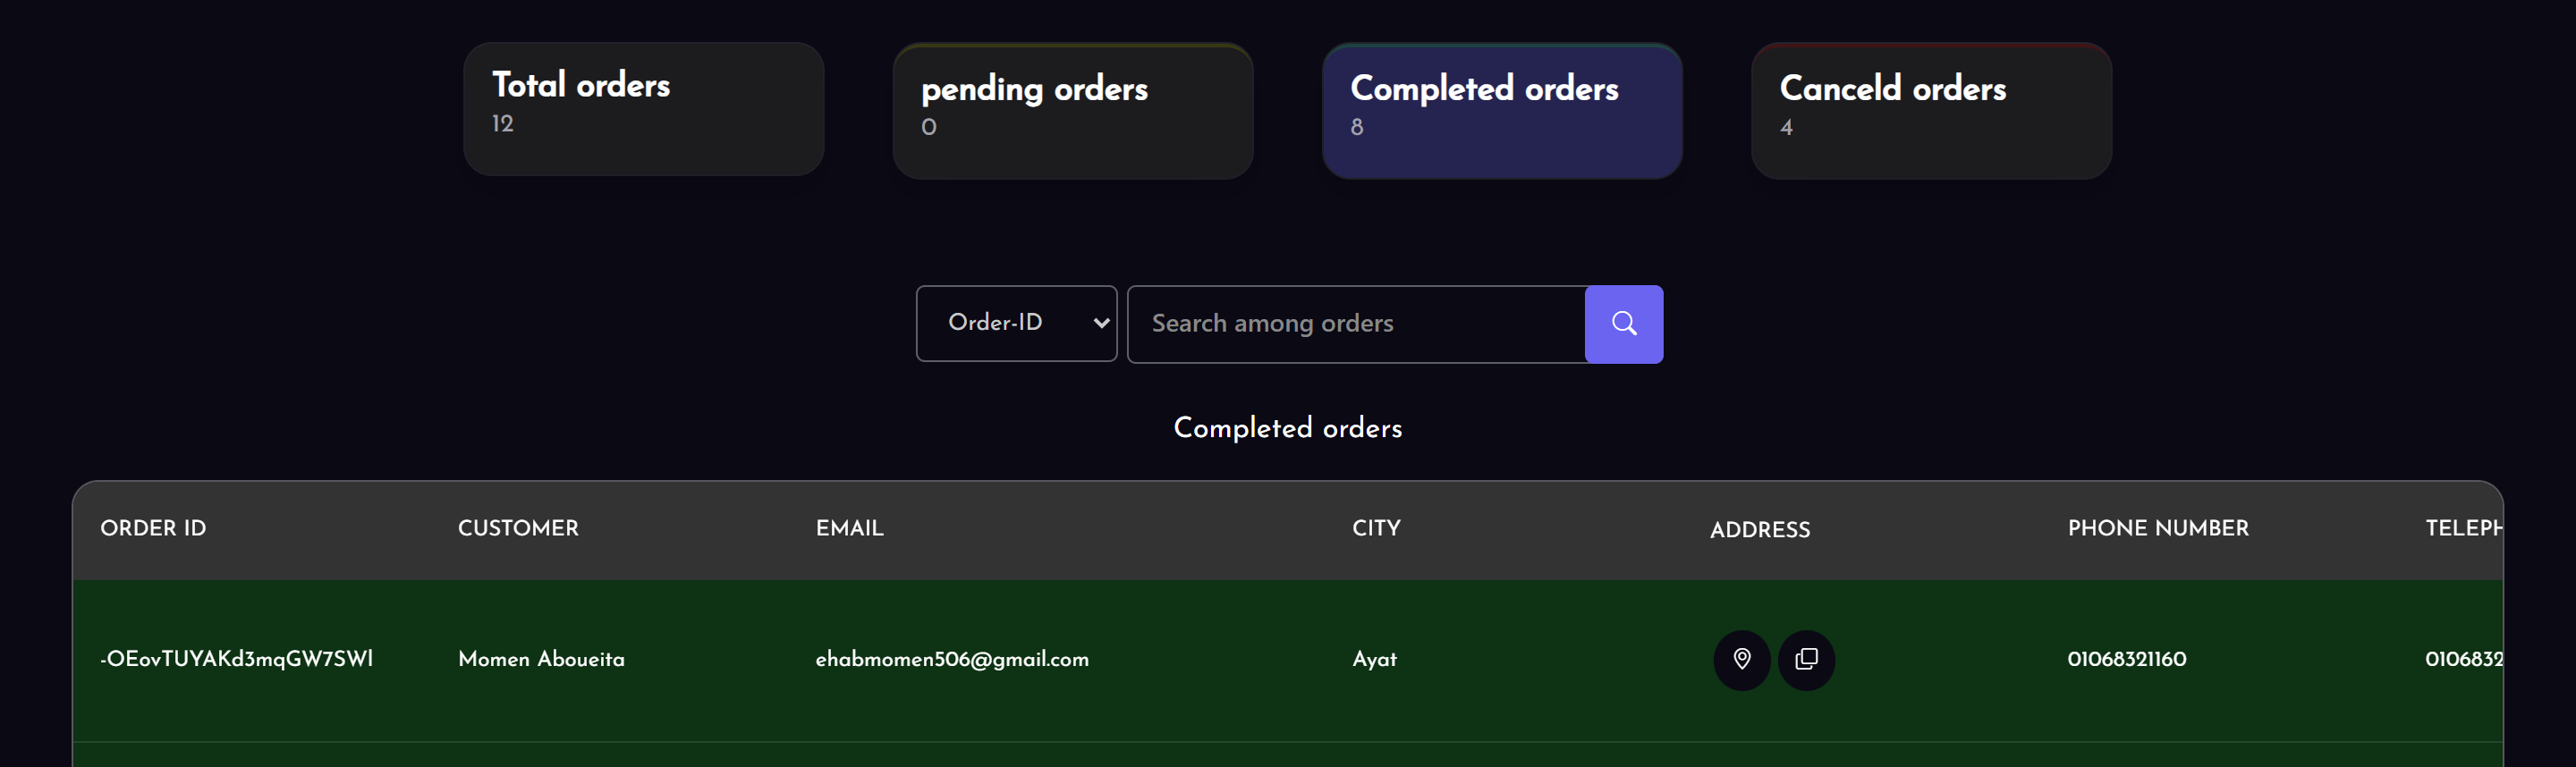
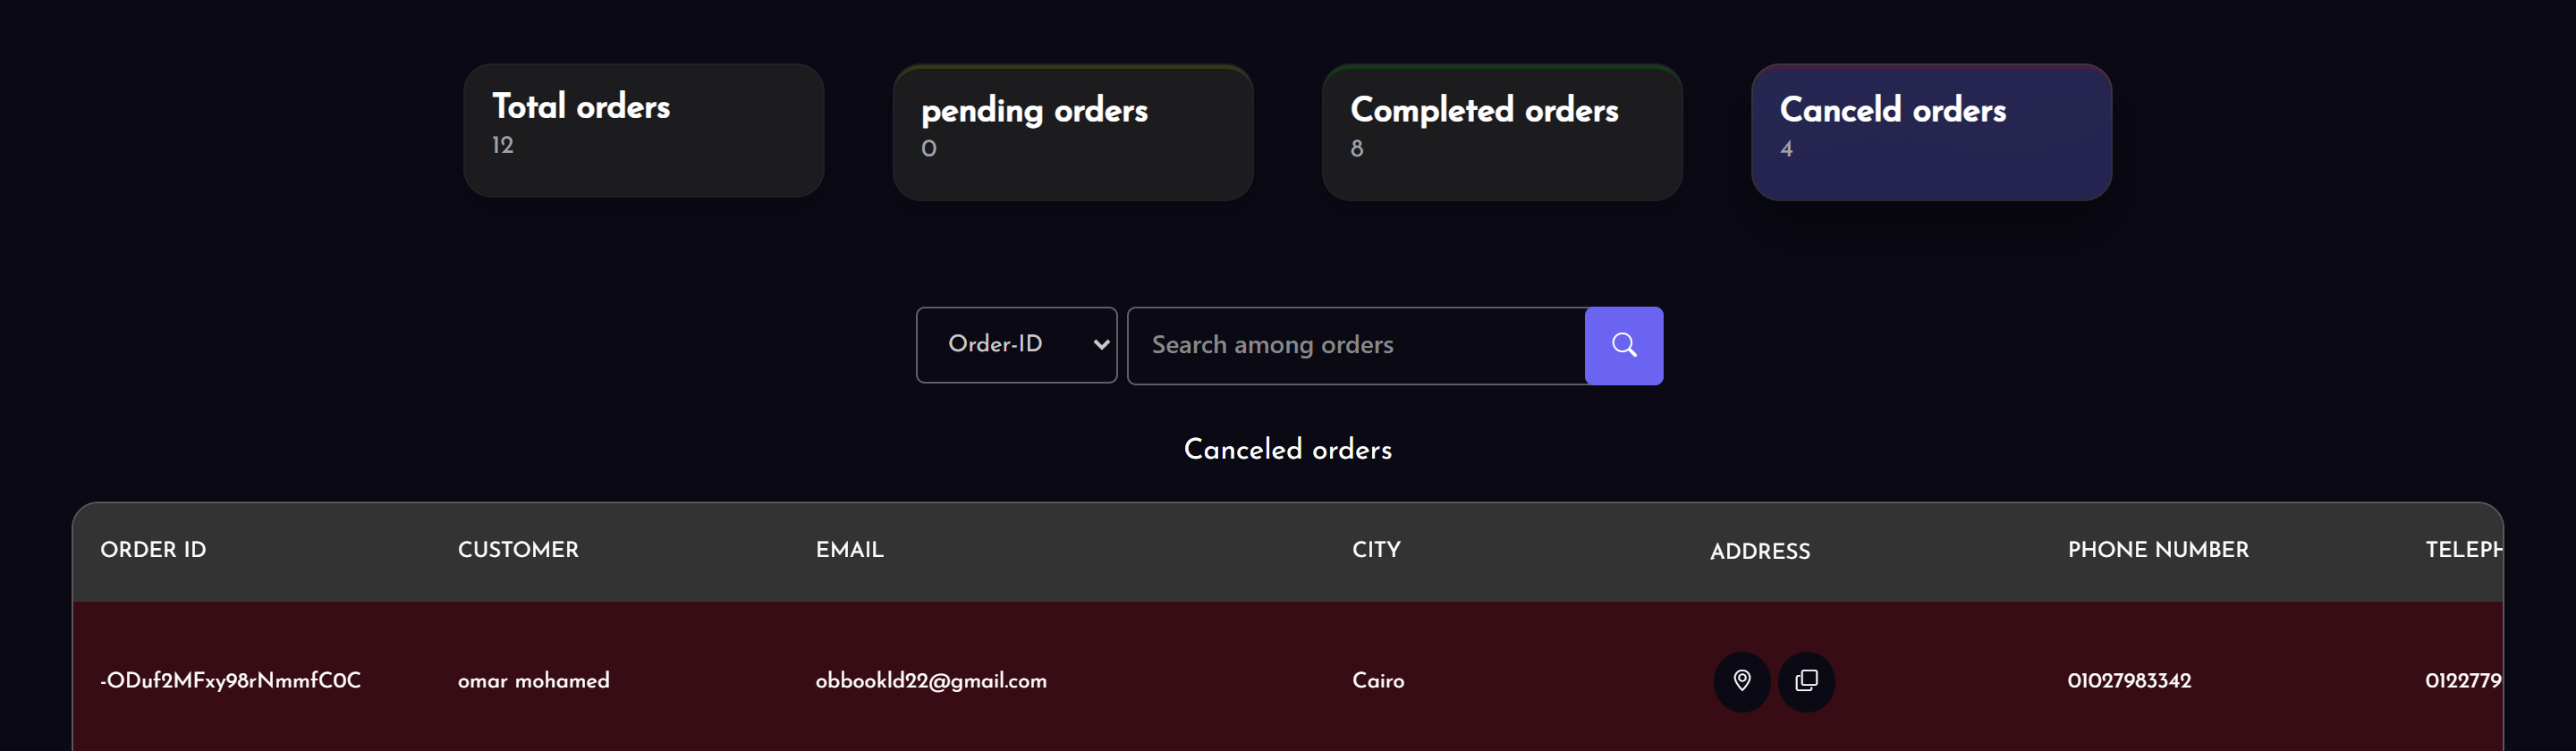
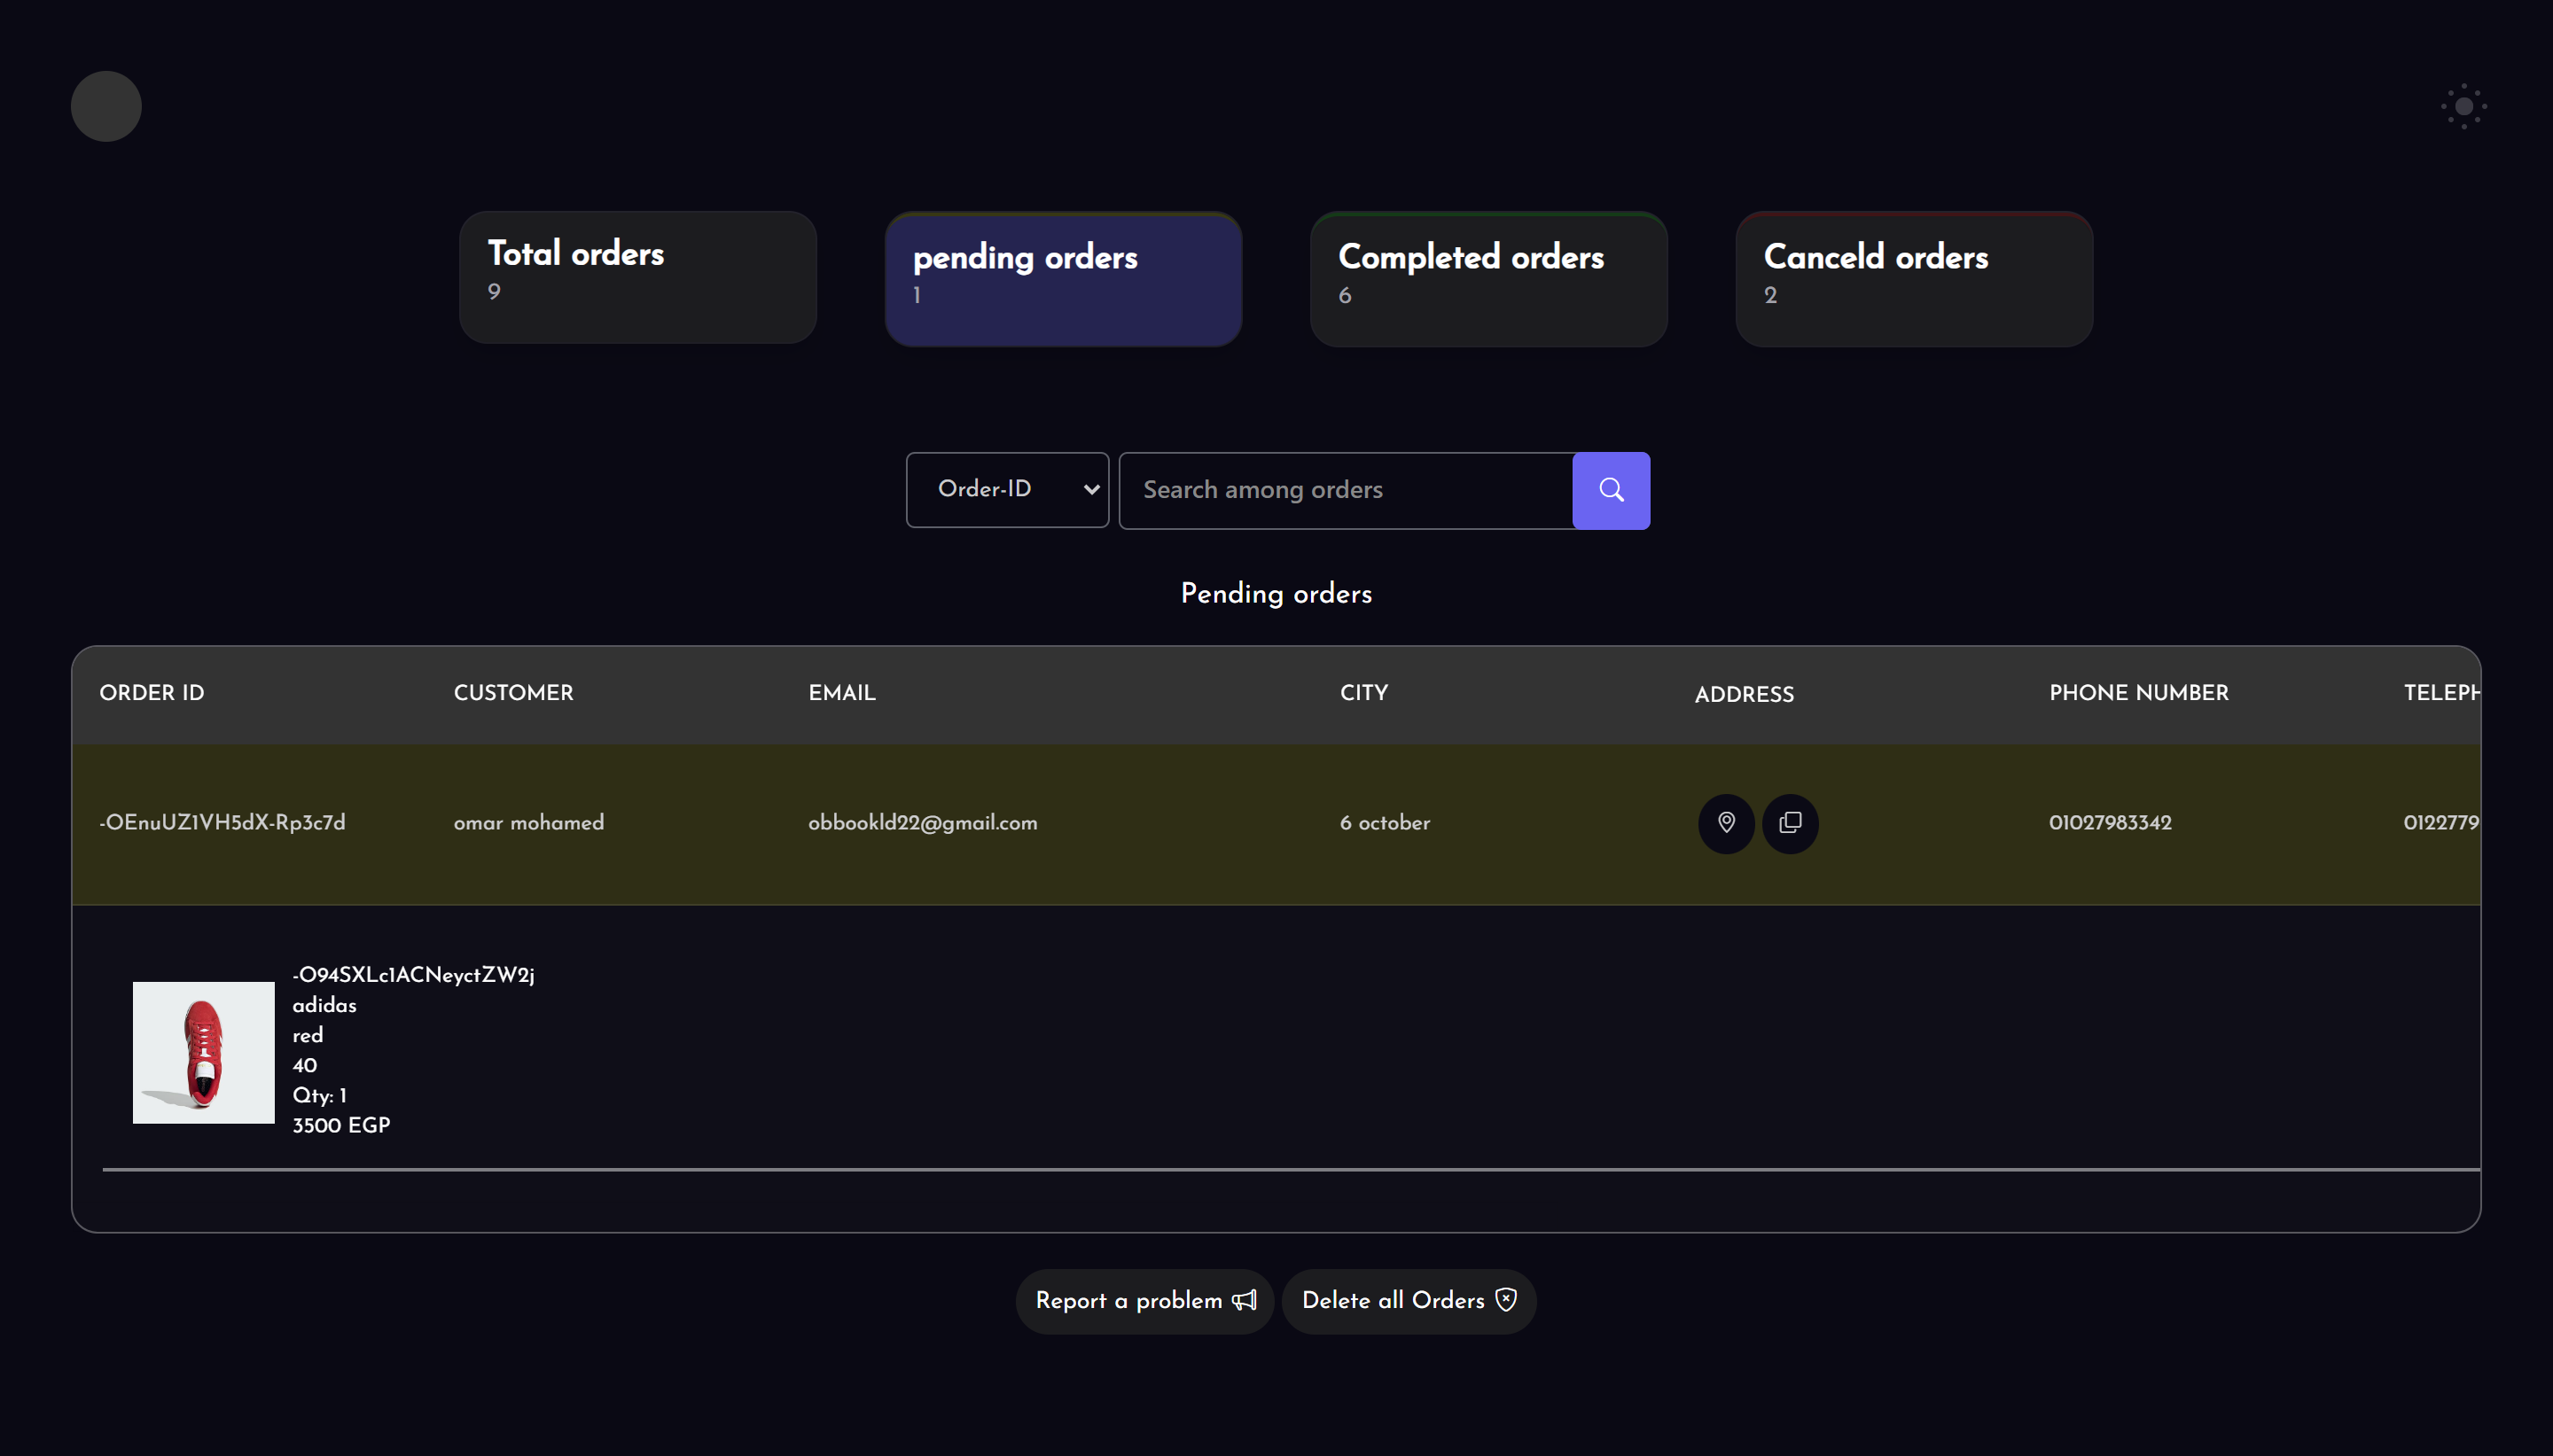
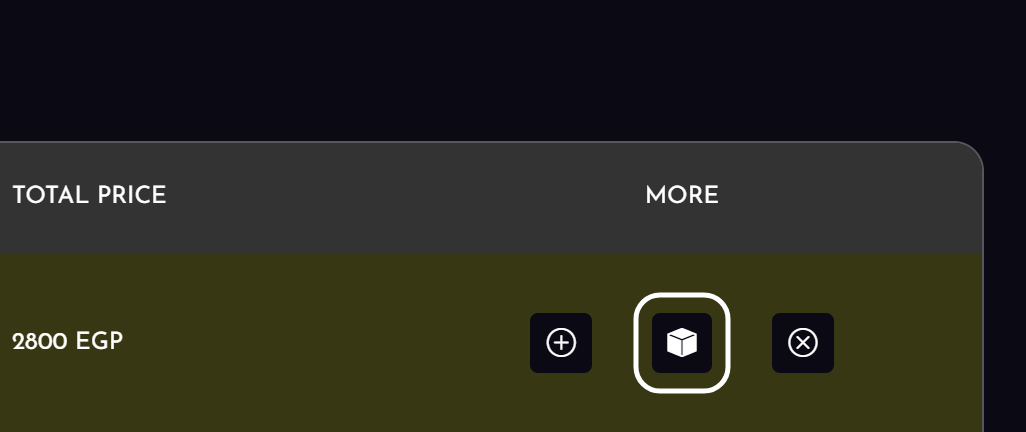
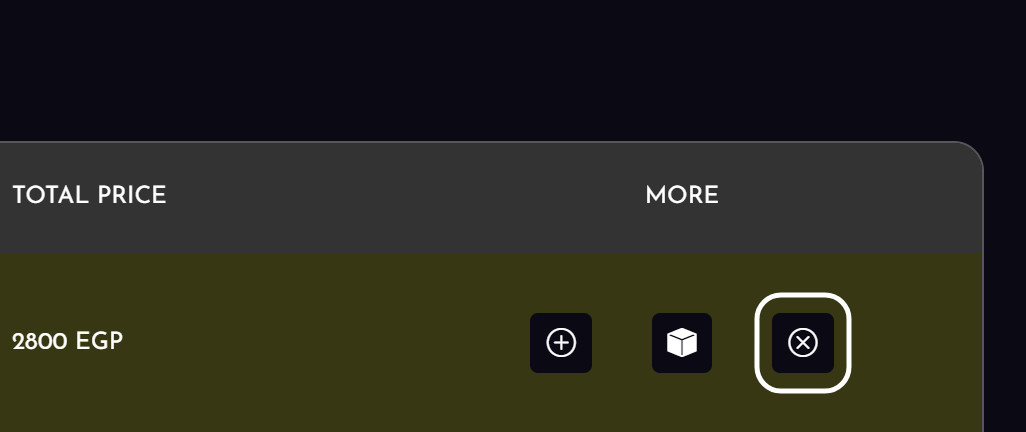
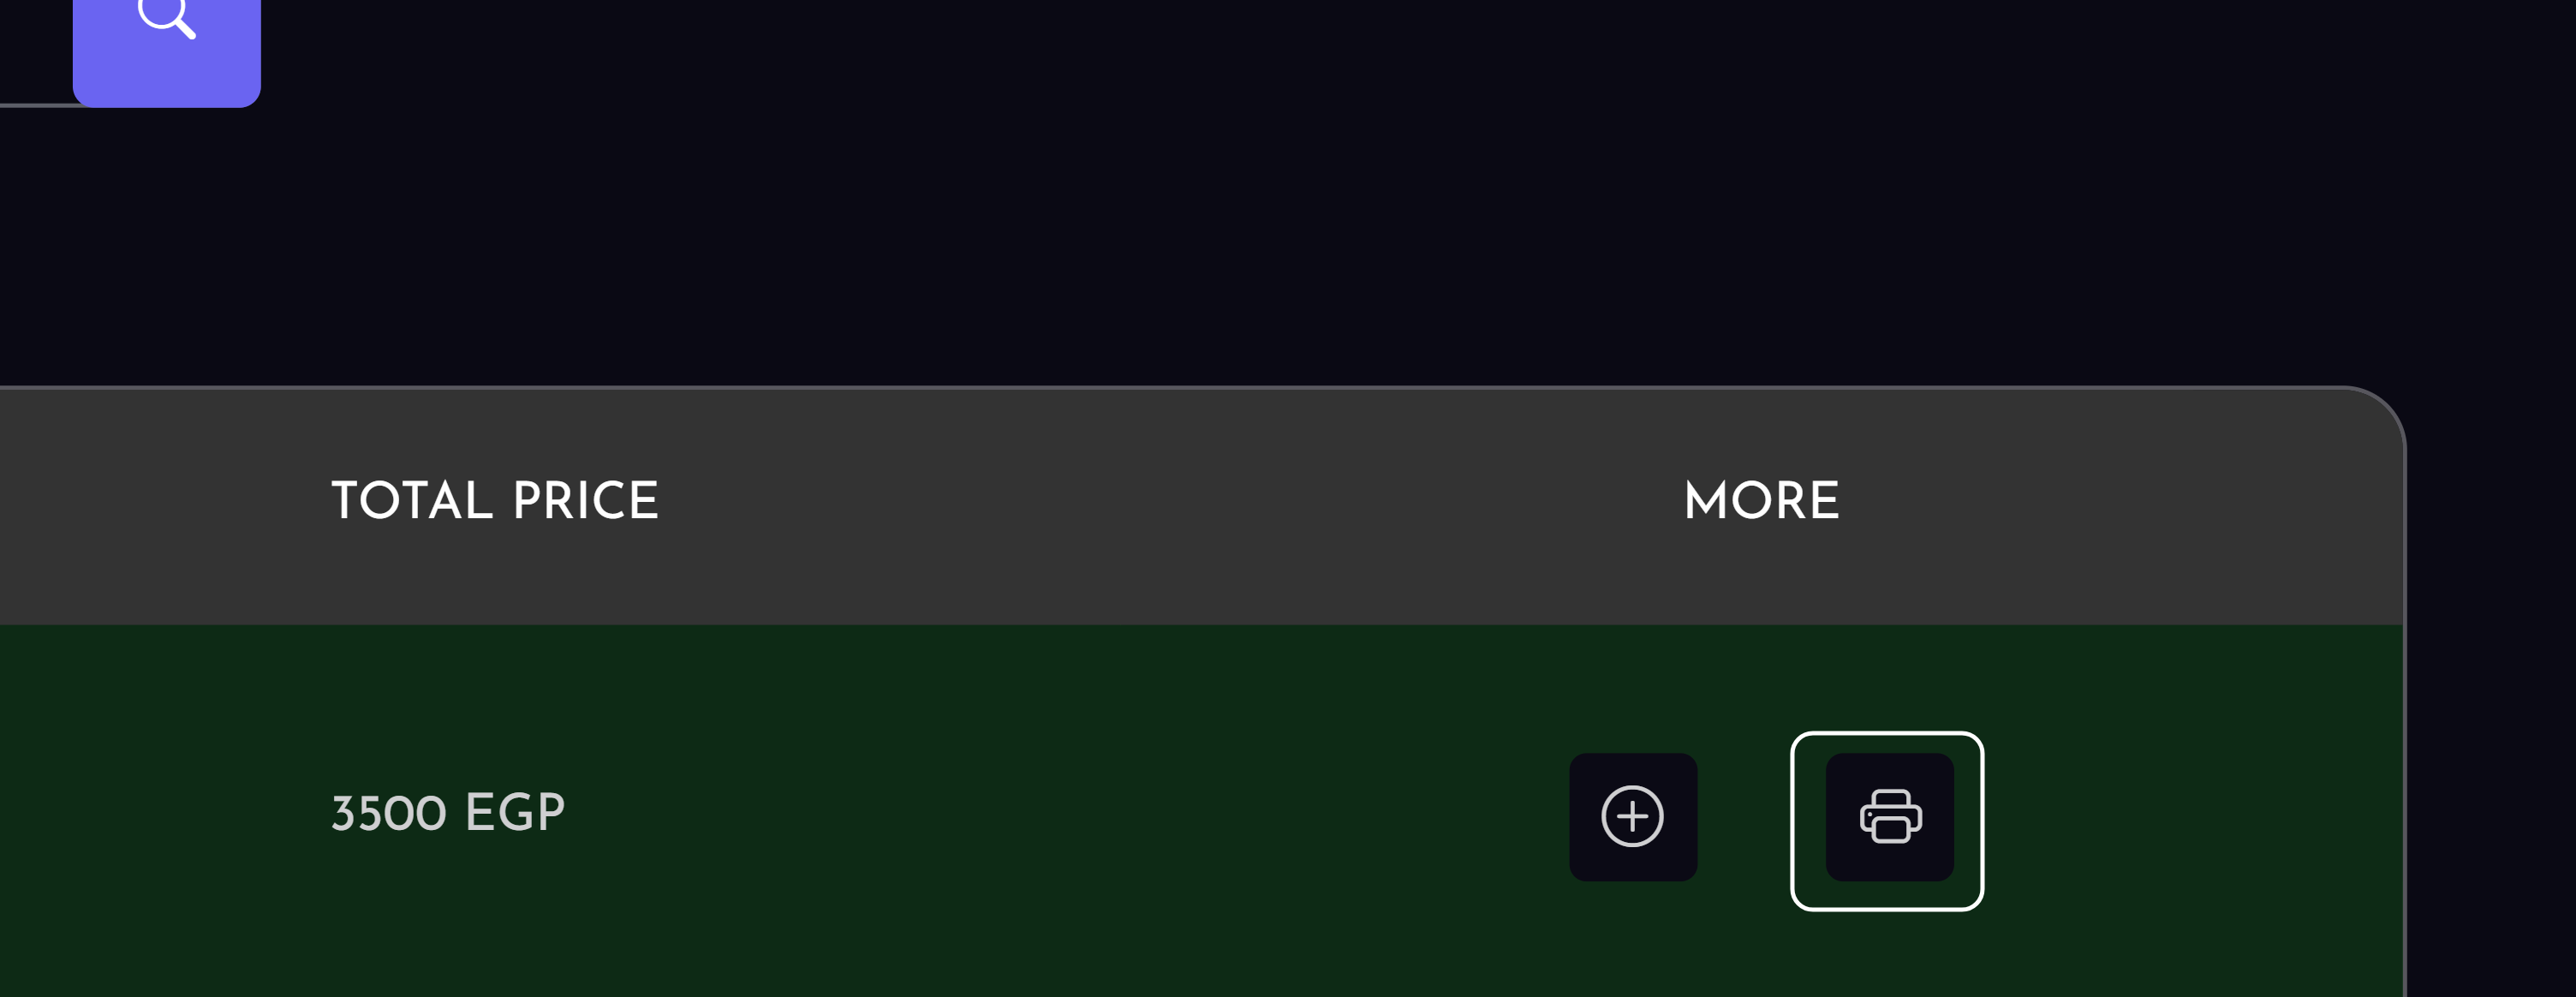
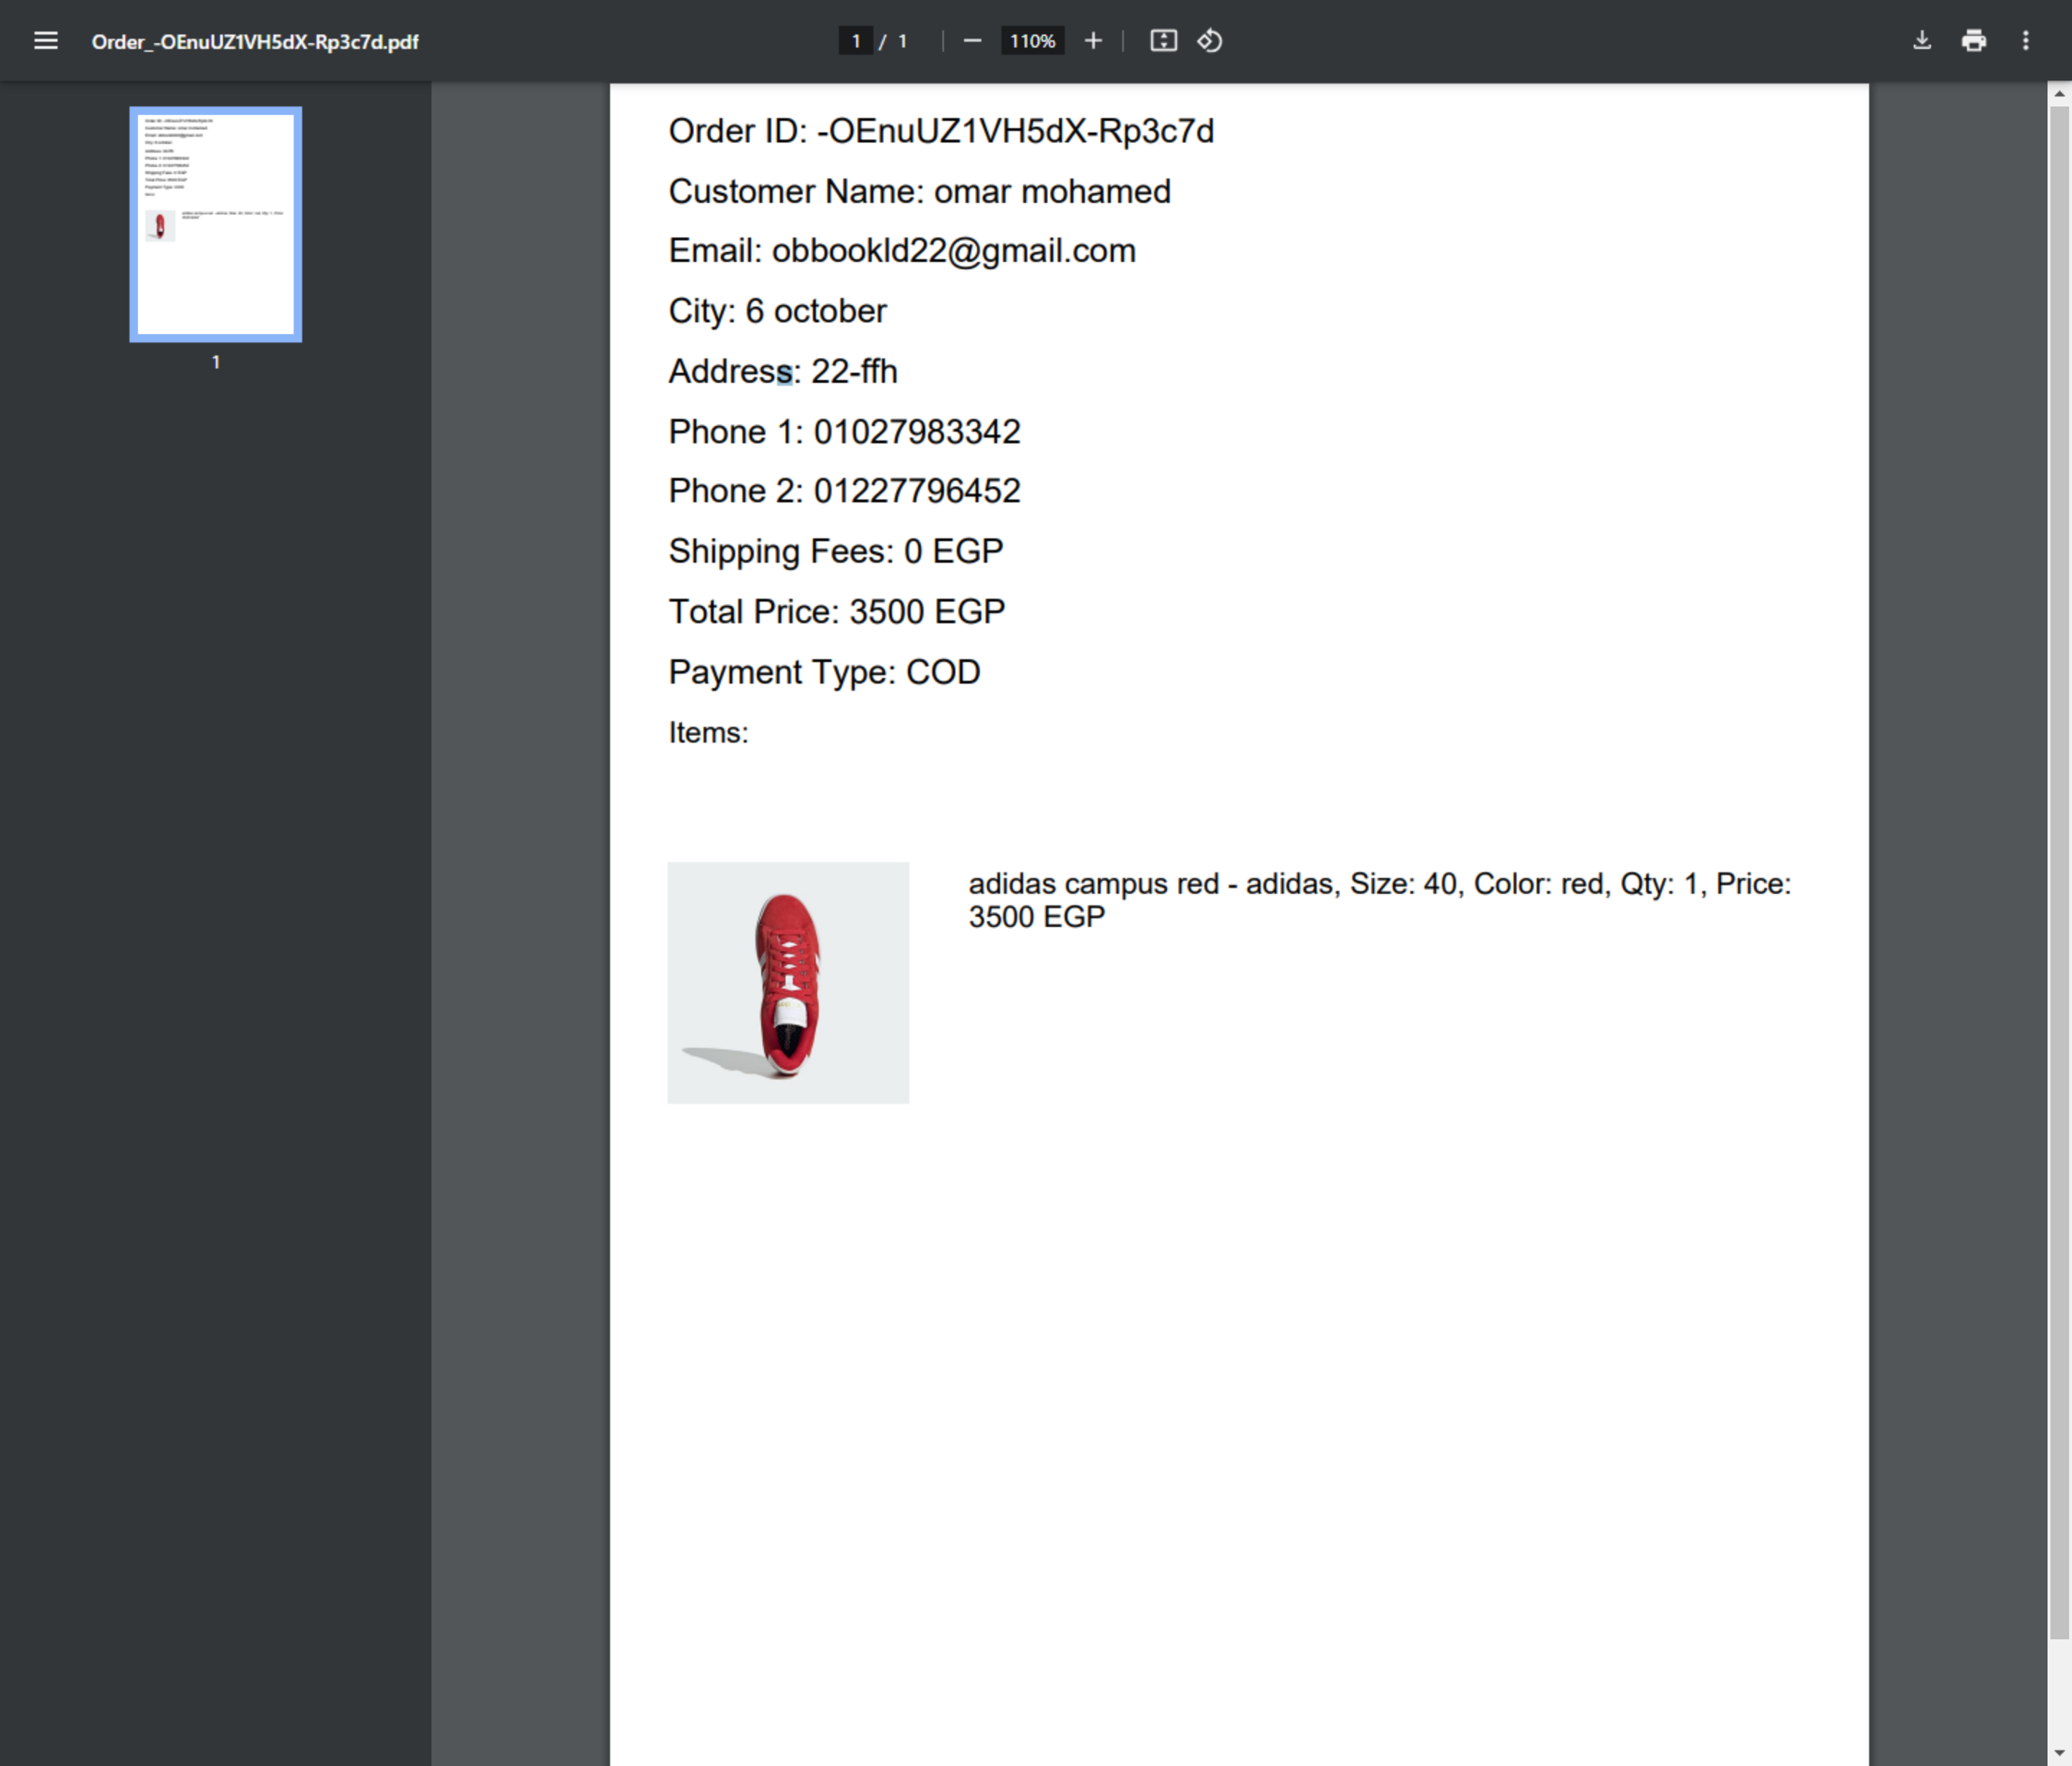
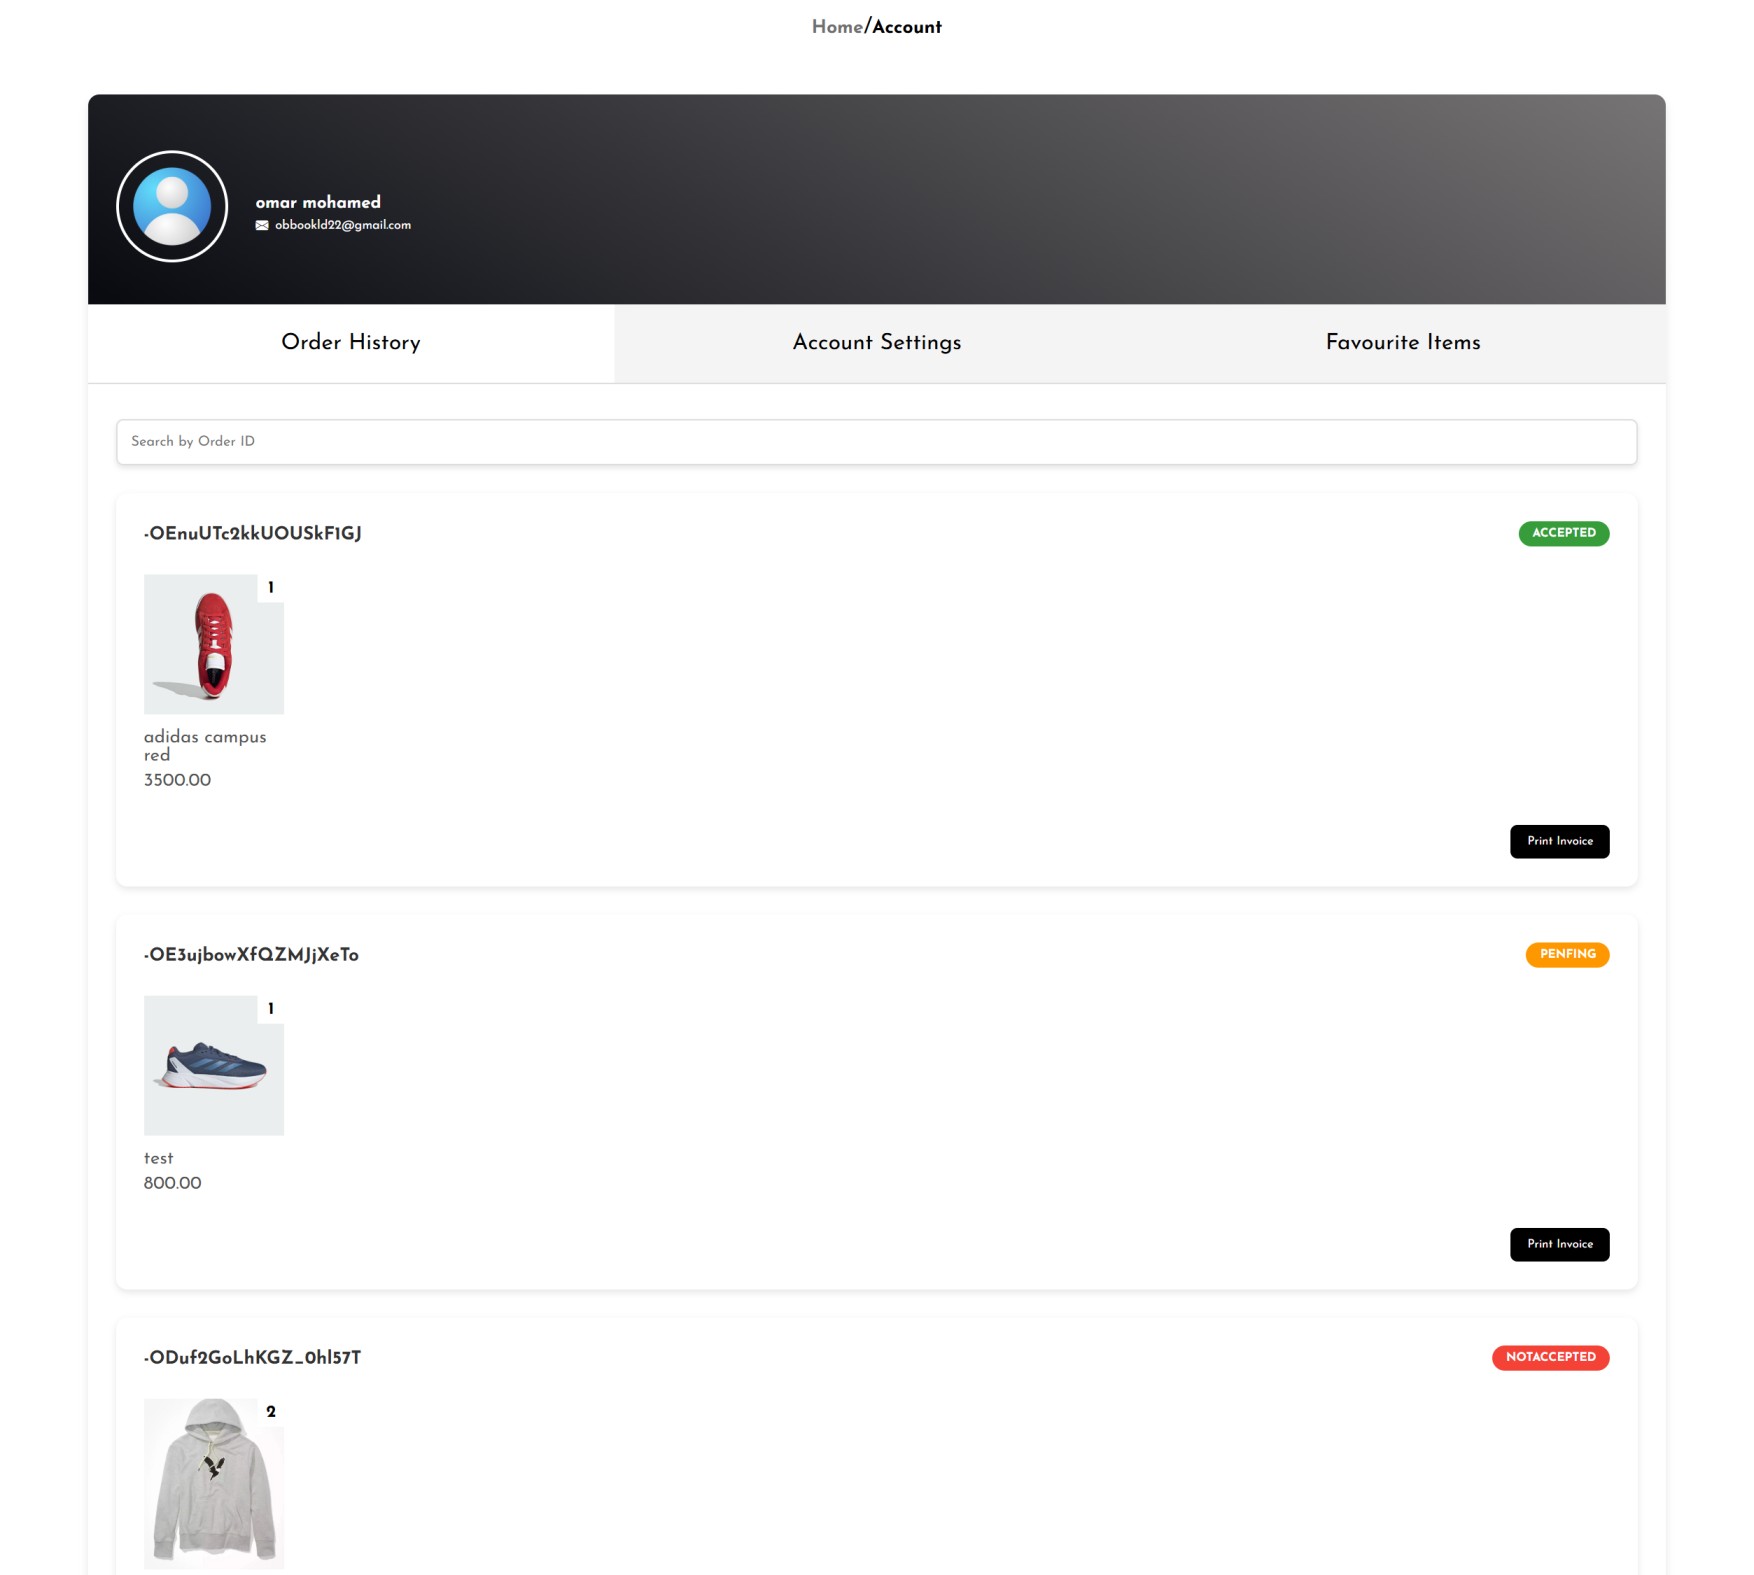
Explore Your Order History
Once signed in, the first section displayed will be your order history. The orders shown are specific to the store you are currently accessing. You can easily search for them by typing the order ID. -
-
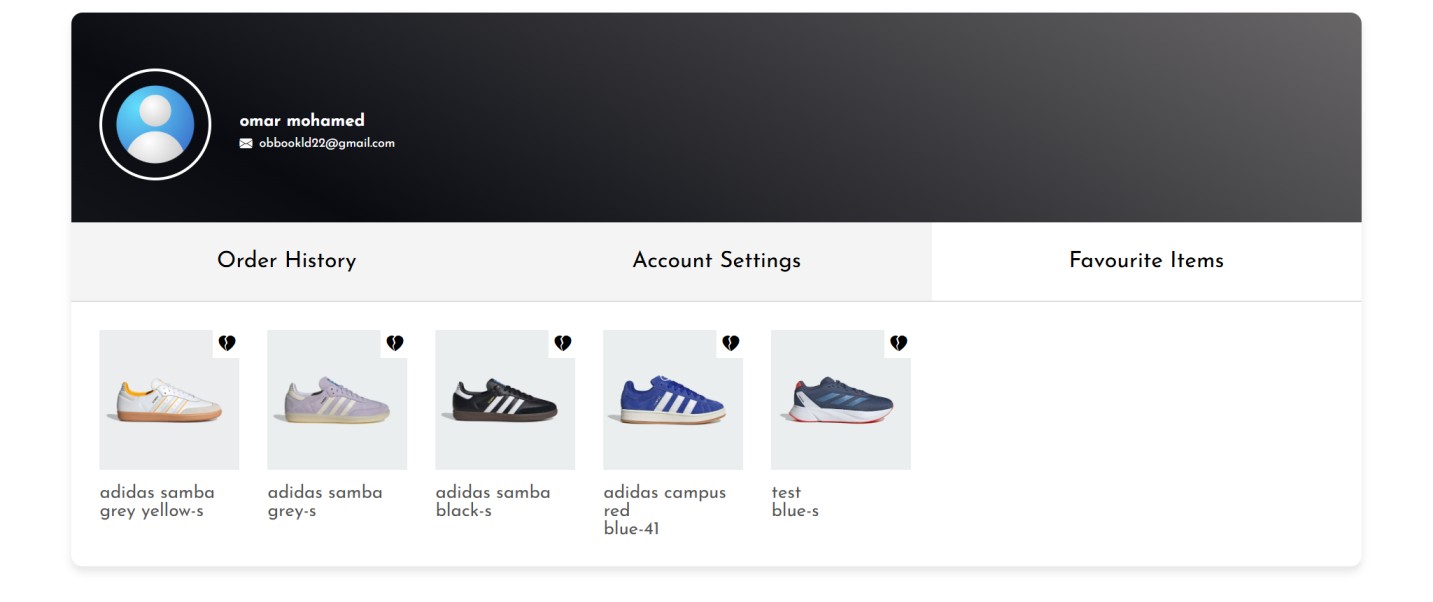
Explore Your Favourite Items
To access your Favourite Items section, click on the "Favourite Items" button. The section will display the favourite items from the store you opened. If you want to remove an item from the list, click on the "heartbreak" icon .
If you click on the photo of an item, it will redirect you to the product details page. -
-
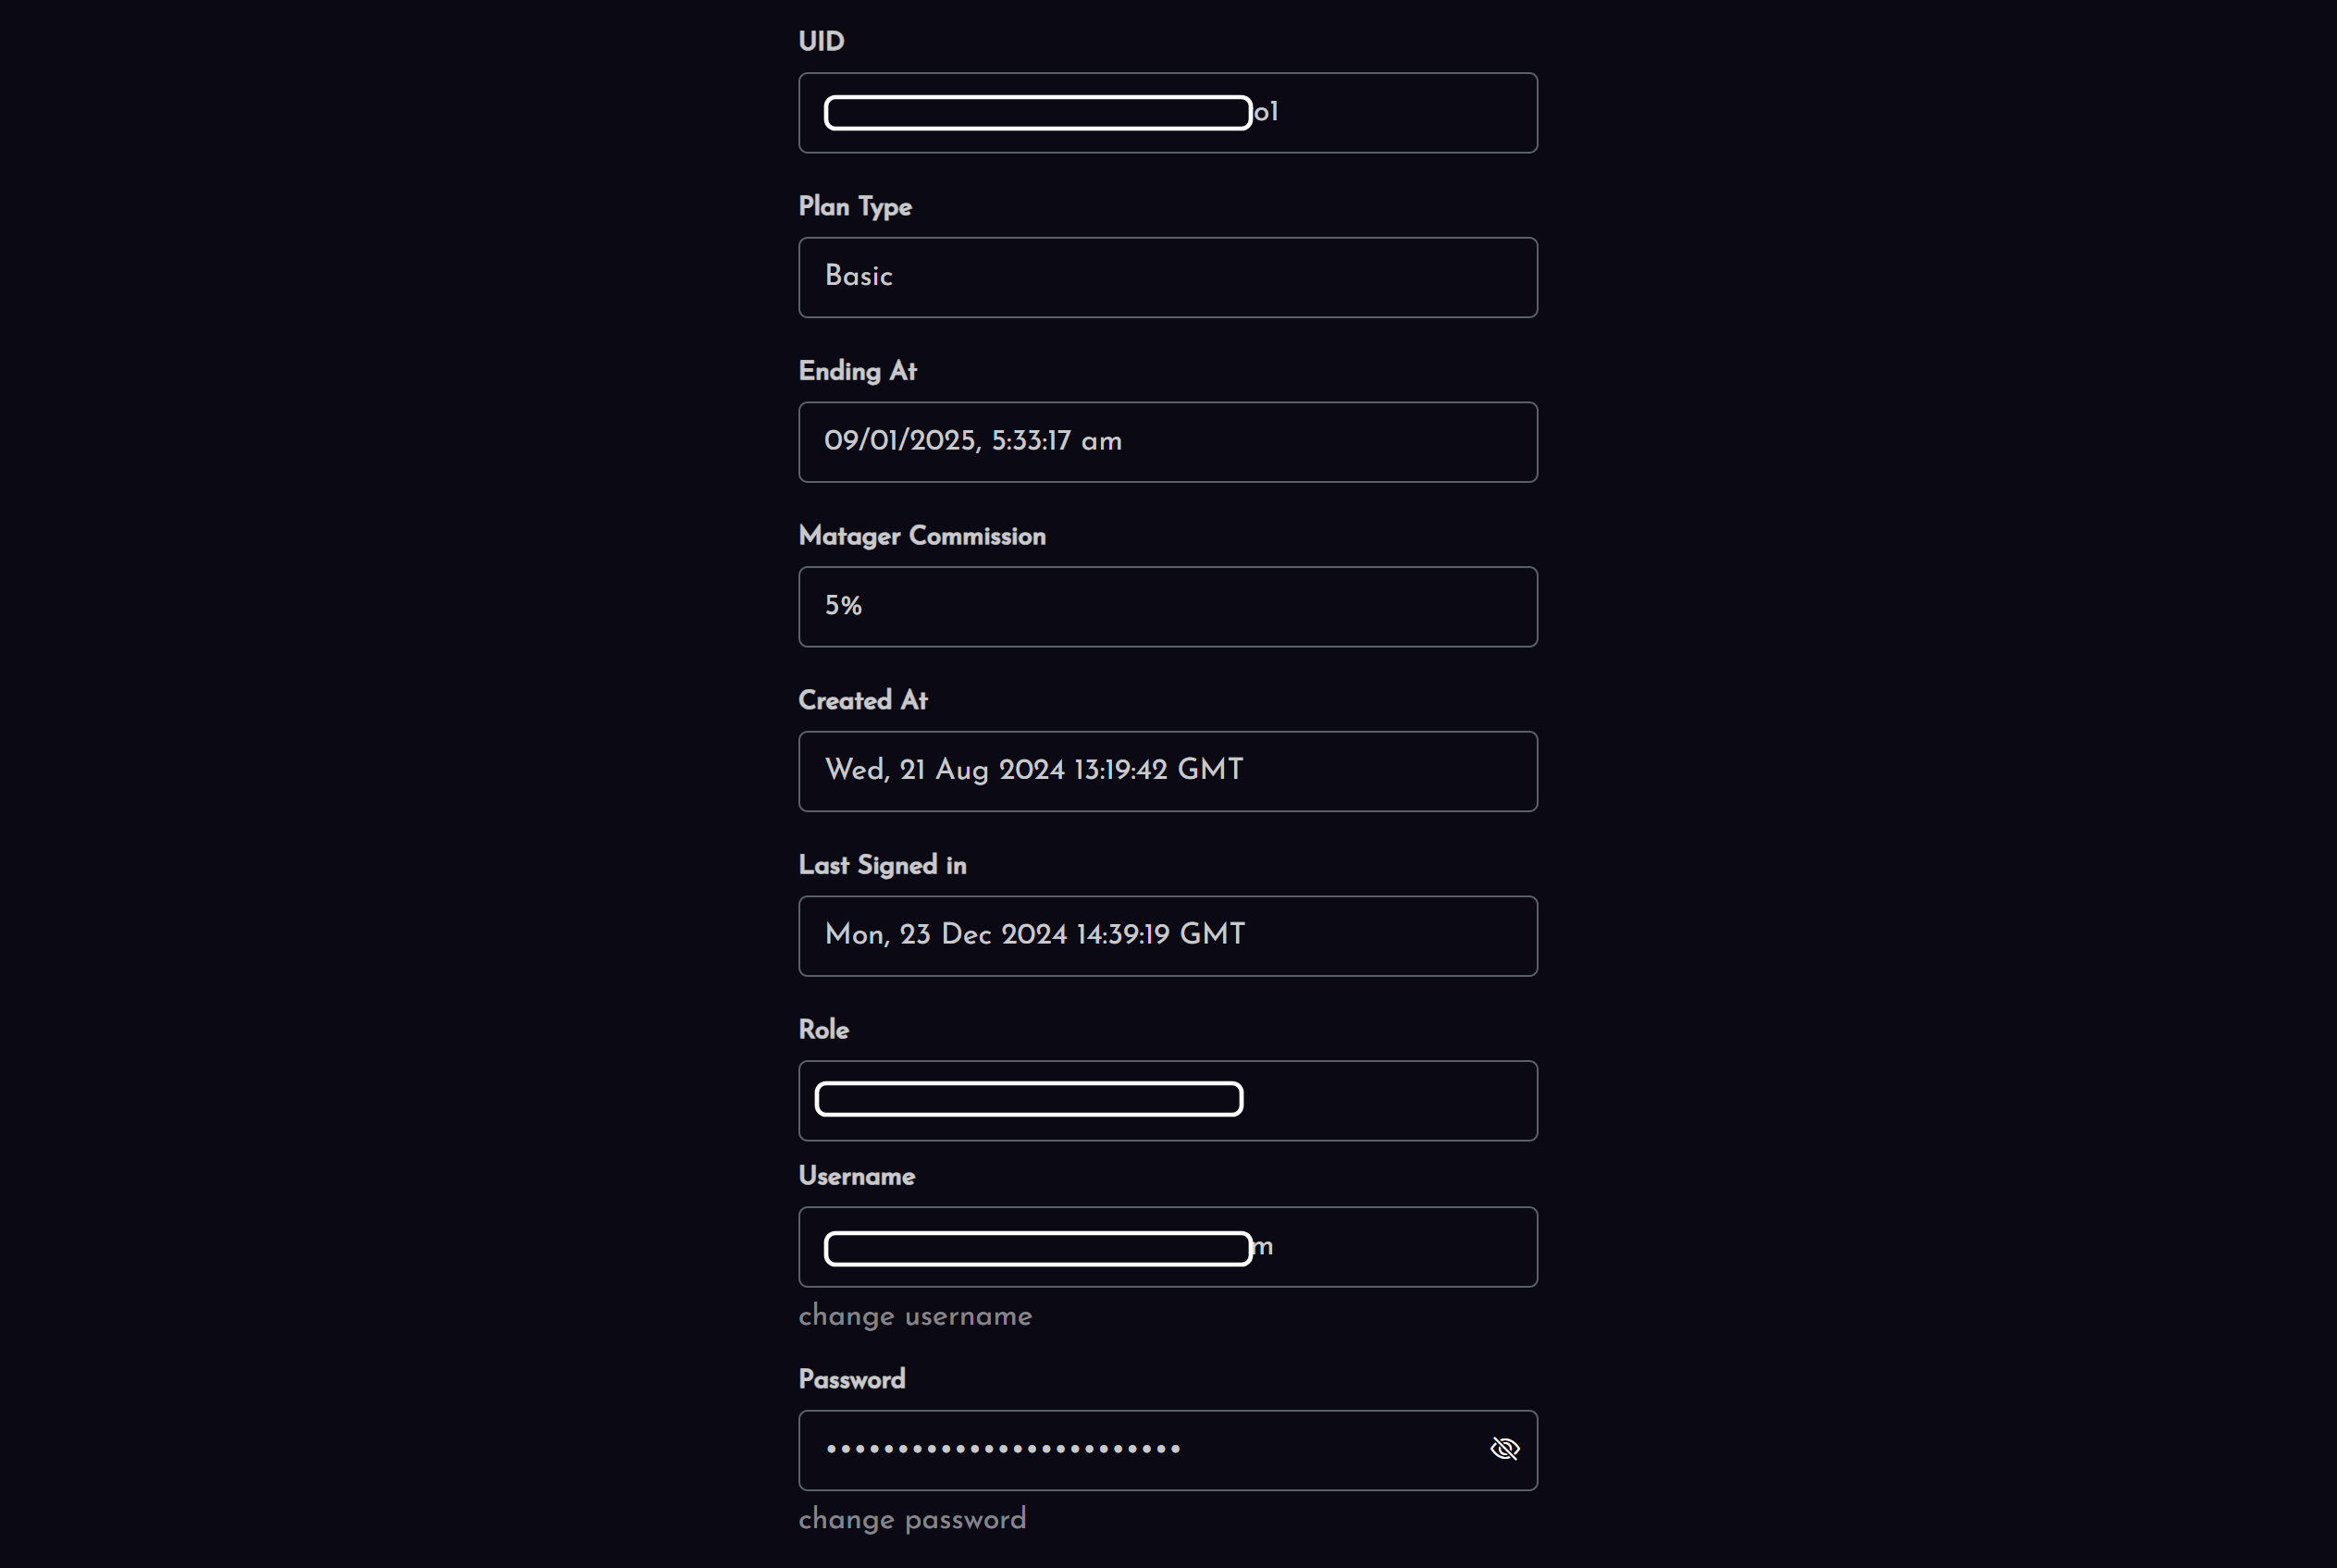
Explore Account Settings
Navigate to the account details section by clicking on "Account Settings."- Account settings consist of:
- Email address
- First name
- Last name
- Phone number 1
- Phone number 2
- Address (the user can add more than one address, and these addresses will be displayed). You can choose multiple addresses when submitting an order in the cart.
-